When you invest in a remodel, clarity is everything. Expressions Remodeling makes clarity standard by pairing a meticulous design-to-build process with complimentary 3D renderings—so you can see, compare, and refine your vision before a single wall is opened. From kitchen and bathroom overhauls to basements, garages, storage rooms, and home offices, our approach eliminates ambiguity, aligns budgets and timelines, and ensures the finishes and fixtures you choose are the ones you will love living with for years.
-
Step 1: In-home consultation and precise measurements
A dedicated project specialist meets you on-site to understand goals, pain points, and budget. We take laser-accurate measurements, evaluate utilities and structure, and note code or access constraints. This is where we discuss functionality—traffic flow in kitchens, storage needs in bathrooms, acoustic control in home offices, moisture strategy for basements, and durable finishes for garages. -
Step 2: Complimentary 3D design and side-by-side options
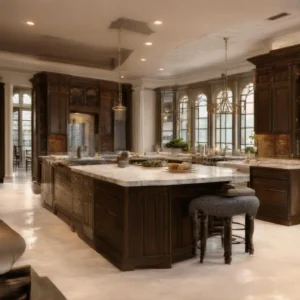
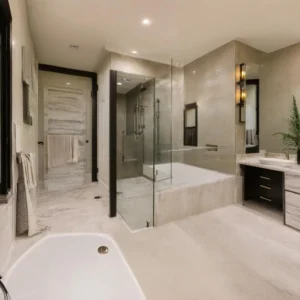
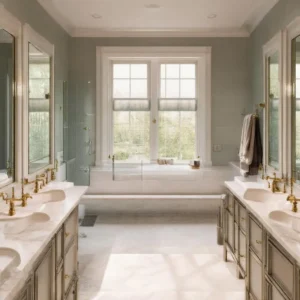
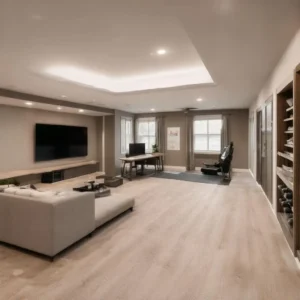
We translate your space into a detailed 3D model and present multiple layout choices. You can compare an island versus a peninsula in the kitchen, floating vanities versus full-height storage in the bathroom, or open-concept versus zoned basement layouts. We layer in lighting plans, cabinet configurations, appliance placement, and material palettes. The result: you visually experience the space, scale, sight lines, and lighting—before construction begins. -
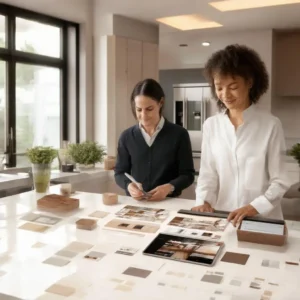
Step 3: Material curation from top-tier suppliers
Our team guides you through premium cabinetry, countertops, tile, flooring, fixtures, and lighting from vetted brands. Rather than defaulting to generic, low-cost options, we specify durable materials that perform and age well. Your 3D model is updated with real finishes to confirm color harmony and texture in natural and artificial light. -
Step 4: Transparent pricing and scheduling
You receive a clear, line-item proposal that reflects the approved 3D design. Because scope is well defined up front, pricing is accurate and timelines are realistic. This discipline minimizes change orders, keeps labor and material deliveries aligned, and guards your budget. -
Step 5: Permitting, build, and quality assurance
We handle permits, inspections, and municipality coordination. Our licensed installation teams follow exacting craftsmanship standards. The 3D model becomes a build roadmap for framing, mechanicals, finish carpentry, and punch-list control. A final walkthrough verifies every detail aligns with the approved design.
Why Early Visualization Saves Time, Money, and Stress
-
Fewer change orders
Most mid-project changes stem from uncertainty about layout, storage, and lighting. When you have walked through multiple 3D options—pantry wall versus pantry cabinet, recessed versus pendant layering, walk-in shower dimensions—you make decisions confidently. That translates to fewer re-selections and schedule resets. -
Reliable schedules and budgets
Precise models enable accurate material counts, early lead-time planning, and trades coordination. Cabinets, stone, tile, and specialty fixtures are ordered to spec, minimizing delays. You benefit from a firm construction calendar and predictable cash flow. -
Smarter material choices
3D visualization allows you to evaluate premium materials in context—how a quartz pattern runs across a long island, how wide-plank flooring affects perceived room width, how a matte tile pairs with brushed-nickel fixtures. This clarity makes it easier to choose top-tier products that will outperform generic alternatives over the life of your home. -
Better lighting and storage performance
Lighting layers (ambient, task, and accent) are modeled to show shadowing and brightness where it matters—over kitchen prep zones, in shower niches, at vanity mirrors, and in basement media areas. Storage planning covers drawer depths, pull-out trays, tall utility cabinets, garage slat walls, and office filing—modeled to the items you actually store.
St. Louis–Specific Insights That Shape Smarter Remodels
St. Louis homes—from classic brick bungalows to mid-century ranches and stately colonials—bring opportunities and constraints that our process addresses early, in 3D and on paper.
-
Older floor plans and structural realities
Many homes in Webster Groves, Maplewood, University City, and St. Louis City feature compartmentalized rooms, plaster walls, and varied joist spans. Our design modeling evaluates if a wall removal needs a flush beam, how to maintain historic trim profiles, and how cabinet heights meet ceiling irregularities—before costs are committed. -
Basement moisture and comfort
In areas like Ballwin, Chesterfield, Wildwood, and Maryland Heights, basements can face seasonal humidity and hydrostatic pressure. We integrate moisture mitigation—interior drainage where required, vapor barriers, insulated subfloors, mold-resistant materials, and smart dehumidification—so your finished basement remains dry, quiet, and comfortable. Egress windows, ceiling height strategies around ductwork, and noise control for media rooms are also resolved in the model. -
Permitting and municipal coordination
Each municipality—Clayton, Ladue, Creve Coeur, Olivette, Overland, Sunset Hills, Valley Park, St. Charles, and more—has unique permitting paths and inspection sequences. Our team coordinates drawings, engineer letters as needed, and code-compliant details (GFCI/AFCI protection, ventilation, fireblocking, and stair geometry) to streamline approvals and avoid onsite surprises. -
Utility and access planning
In dense neighborhoods, material staging and parking require forethought. We model appliance clearances, staircase turns for large items, and mechanical chases so new systems (like a basement bath) tie into existing supply, drain, and vent lines cleanly.
Mini Case Study: A Basement and Kitchen Reimagined in Webster Groves
Scope
A 1950s home in Webster Groves needed two upgrades: a brighter, more functional kitchen and a dry, multipurpose basement with a media area, guest nook, and organized storage.
Process
-
After an in-home consultation and laser measurements, we produced two 3D kitchen layouts:
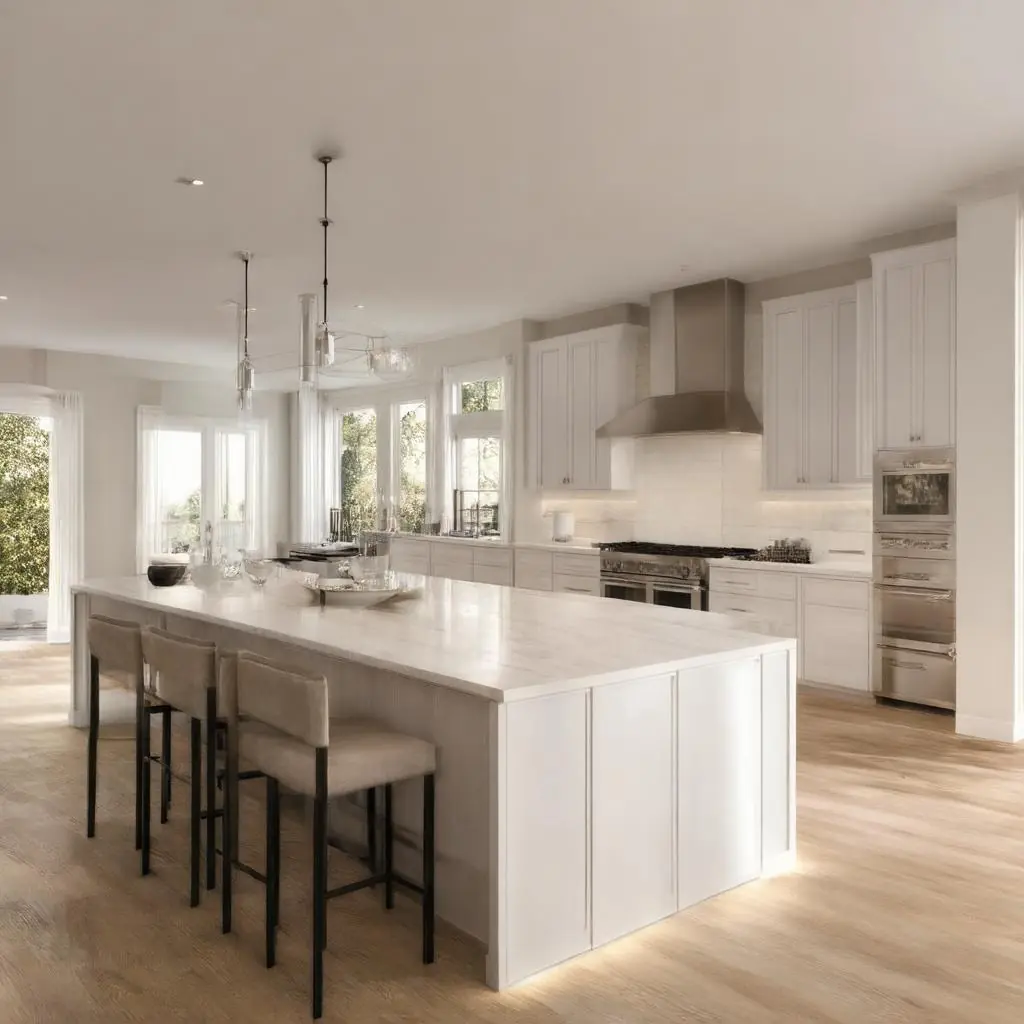
1) A peninsula plan that preserved an existing opening and maximized seating.
2) An island plan that required a concealed beam but improved circulation and prep space. -
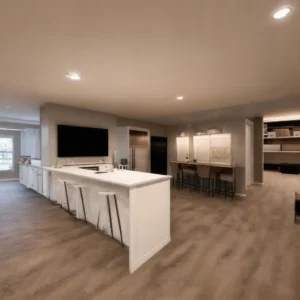
For the basement, we modeled three zones: a media wall with integrated speakers, a guest alcove with code-compliant egress, and utility storage with slat-wall and shelving. Moisture protection included a continuous vapor barrier, insulated subfloor panels, and closed-cell foam at rim joists.
-
Finishes were previewed in 3D: white oak wide-plank flooring, a soft-white shaker cabinet with dovetail drawers, matte quartz with a subtle vein, and layered lighting—4-inch LEDs, pendants over the island, and tape lighting in the media area.
Outcomes
- The family selected the island plan after seeing traffic-flow paths and seating in the model.
- Zero mid-project change orders; all materials arrived per the approved specification.
- The project finished one week early because plumbing, electrical, and cabinet installs followed the 3D-driven schedule exactly.
- Long-term value: moisture-smart construction and premium finishes outperformed generic options and aligned with the home’s architecture.
Your Prep Checklist for a Free Estimate—and Questions That Reveal True Quality
Arriving prepared for your in-home consultation ensures a faster, clearer path from vision to build.
Preparation checklist
- Goals and priorities: Must-haves, nice-to-haves, and budget guardrails.
- Inspiration: A few photos or links that reflect your style and desired functionality.
- Pain points: Storage bottlenecks, poor lighting, awkward circulation, or noise.
- Measurements and site info: If on hand, share surveys, prior plans, or appliance specs.
- Utilities and systems: Known electrical, plumbing, or HVAC constraints—or desired upgrades.
- Moisture or comfort concerns: Particularly for basements or bathrooms.
- Access and schedule: Preferred work hours, parking, and any HOA rules.
- Decision-makers: Ensure all stakeholders can review the 3D concepts together.
Questions to ask any remodeler to vet craftsmanship and quality
- Design fidelity: Will I receive dimensioned plans and 3D renderings with lighting and storage modeled? Are revisions included before final pricing?
- Materials: Which cabinet construction do you specify (e.g., plywood boxes, dovetail drawers)? What tile setting and waterproofing standards do you follow in showers and wet areas?
- Moisture and structure: How do you address basement moisture, subfloors, and insulation? Who engineers load-bearing modifications?
- Trades and installation: Are installers employees or long-term partners? How do you supervise job sites and protect finished areas daily?
- Permitting and code: Who handles permits and inspections? How do you ensure GFCI/AFCI, ventilation, and egress compliance?
- Schedule integrity: How is the build sequence aligned to material lead times? What is the documented change-order process?
- Warranty and service: What workmanship warranty do you provide, and how are post-completion issues handled?
Expressions Remodeling serves homeowners across St. Louis and surrounding communities—including Chesterfield, Ballwin, Clayton, Creve Coeur, Ladue, Olivette, Overland, St. Charles, Maryland Heights, Wildwood, Valley Park, Sunset Hills, Webster Groves, Maplewood, and University City—who value precise planning, premium materials, and impeccable craftsmanship. With our complimentary 3D design and a rigorous build process, you can see it before we build it—and enjoy a remodel that is beautiful, functional, and built to last.