
Yes, most bathtubs can be converted to a walk-in or accessible shower. Expect to pay roughly $1,200 to $15,000, with most homeowners landing closer to $3,000 to $9,000 depending on materials and whether the drain has to move. A prefab surround install can often be completed in a day; custom tile jobs with curbless entry usually take several days to complete considering waterproofing and inspections.
Your immediate next step is simple: get an itemized quote from a licensed contractor and ask what permits your city requires before demo starts.
- Prefab or acrylic surround: about 1 day with lowest cost
- Mid-range solid surface or tile: several days typically
- Custom tile with curbless entry: multiple days, involving highest cost and complexity
Key Takeaways
A tub to shower conversion succeeds when drain placement, waterproofing continuity, and permit timing are handled correctly, not when a specific tile or finish is chosen.
| Point | Details |
|---|---|
| Budget realistically | Expect $1,200 to $15,000 nationally, with most projects landing between $3,000 and $9,000. |
| Keep the drain if possible | Relocating a drain can add thousands and extend your timeline significantly. |
| Match timeline to material | Prefab takes about 1 day; custom tile with a curbless entry can take 5 or more. |
| Protect resale value | Keep at least one tub in the home if you have more than one bathroom, since many buyers still want one. |
| Work with Expressions Remodeling | Their 3D visualization and coordinated permit process help avoid the rework that drives up costs. |
Table of Contents
- Which type of tub to shower conversion is right for you?
- How much does a tub to shower conversion cost?
- What does the contractor process actually look like?
- Curbless entries, grab bars, and other accessibility upgrades
- Who should you hire, and what should you ask?
- Why sequencing matters more than the finish you pick
- Where a lot of tub to shower conversion advice gets it backwards
- Ready to plan your shower conversion?
- Sources
Which type of tub to shower conversion is right for you?
The material and layout you choose drives both your budget and your timeline more than any other decision you’ll make. A prefab acrylic surround snaps into place over a pre-formed pan, which is why it’s the fastest and cheapest route, often installed in a single day by a two-person crew.
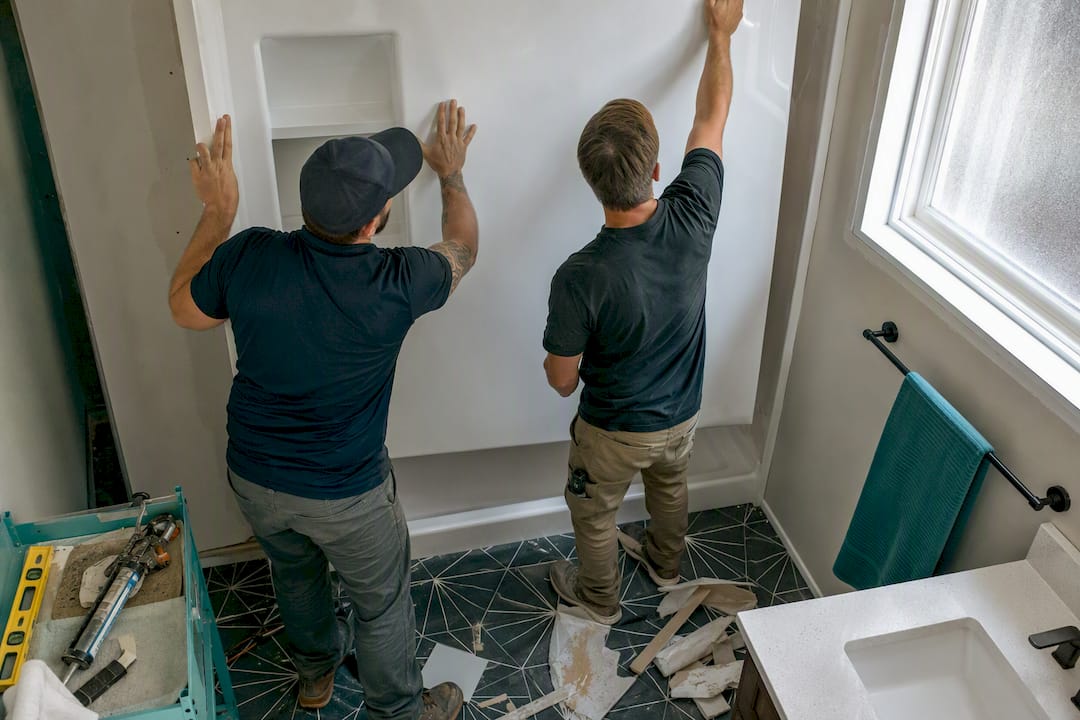
Solid-surface panels and cultured marble sit in the middle. They mimic stone without the labor of setting individual tiles, and they hold up well in a rental or a quick-flip renovation.
Custom tile is where things get interesting, and expensive. A linear drain lets you slope the whole floor in one direction instead of pitching four ways to a center drain, which is what makes large-format tile and curbless entries possible. It also means more waterproofing membrane, more labor hours, and a longer timeline.
- Prefab/acrylic: fastest, cheapest, limited design flexibility
- Solid surface/cultured marble: mid-range cost, low maintenance, decent style range
- Custom tile + curbless: premium cost, longest build time, best for accessibility and resale in higher-end homes
If accessibility is the priority, curbless and tile-based designs typically win even though they cost more upfront.
How much does a tub to shower conversion cost?
Nationally, converting a tub to a shower runs $1,200 to $15,000, and a calculator-based estimate from CostToRenovate puts the average closer to $5,500, with a typical range of $2,500 to $10,000 depending on size and finish tier. Here’s where that money actually goes:
- Materials: prefab panels run a few hundred dollars; tile, backer board, and a linear drain kit can run into the thousands
- Labor: typically 40 to 60 percent of the total job, with plumbers usually billing $45 to $200 an hour depending on your market
- Drain relocation: keeping the existing drain saves real money; moving it, especially through a slab, can add thousands
- Waterproofing: bonded membrane systems cost more than a basic pan but prevent the leaks that ruin subfloors
- Permits: commonly $50 to $1,500 depending on your city and the scope of plumbing work
- Shower doors: framed glass starts cheap; frameless enclosures add several hundred dollars or more
Tile jobs cost more than prefab largely because of labor hours, not material markup. Setting individual tiles, cutting around a linear drain, and applying a full waterproofing system simply takes longer than snapping in a one-piece surround.
What does the contractor process actually look like?
A well-run conversion follows a sequence, and skipping steps is where projects go sideways.
- Measure and plan. A contractor measures the space and, ideally, walks you through a 3D visualization so you approve the layout before anyone picks up a hammer.
- Demo. The old tub, surround, and sometimes the subfloor come out. This is when hidden rot or plumbing issues surface.
- Rough-in plumbing. The crew sets the drain, whether keeping the existing location or relocating it, and roughs in the valve and shower arm.
- Waterproofing. A continuous bonded membrane goes over the pan, walls, and niche before any tile or panel goes up, following the best practices described in this DIY guide for homeowners.
- Finish work. Tile, panels, fixtures, and the door go in last.
- Inspection and warranty walkthrough. A final check confirms the plumbing passed inspection and everything is watertight.
Pro Tip: Ask your contractor to photograph the waterproofing before it’s covered by tile. If a leak ever shows up, that documentation tells you exactly what’s behind the wall.
Curbless entries, grab bars, and other accessibility upgrades
A curbless shower removes the step entirely, which is great for wheelchair access and aging in place, but it demands more precise slope work and a more robust waterproofing system than a standard pan.
Beyond the entry itself, a few add-ons deliver a lot of function per dollar:
- A built-in or fold-down bench, often a modest add to material and labor cost
- Grab bars mounted into blocking (not just drywall anchors), which is a small line item but critical for safety
- A handheld shower head on a slide bar
- Slip-resistant tile or textured pan flooring
None of this requires a full ADA commercial buildout, but the same principles, clear floor space, reachable controls, a slope that drains without pooling, should guide your layout. If you’re planning for a family member with mobility needs, loop in a contractor who’s handled accessible bathroom conversions specifically, not just standard remodels.
Who should you hire, and what should you ask?
Wet-area remodels typically require plumbing permits and inspections, especially if you’re moving a drain or supply line. Skipping that step can turn into a real headache when you sell the house and the buyer’s inspector asks for permit records that don’t exist.
Here’s a practical hiring sequence:
- Confirm the contractor holds a valid license and carries liability insurance, and ask to see both.
- Ask whether plumbing and electrical work will be done in-house or subcontracted, and who pulls the permit.
- Request an itemized bid, not a lump sum, so you can compare quotes apples to apples.
- Ask about warranty terms on labor and materials separately.
- Check recent references, ideally a job finished in the last year.
Pro Tip: A bid that’s dramatically lower than the others usually means something’s missing, permits, disposal fees, or corners on waterproofing. Ask what’s excluded before you sign.
Watch for vague scope language like “update bathroom as needed.” That phrase is where change orders and disputes come from.
How long does a tub to shower conversion take?
- Prefab install: 1 day
- Mid-range solid surface or tile: 2 to 3 days
- Custom tile with curbless entry: 4 to 5+ days
Moving a drain or waiting on a city inspector can add days to any timeline. Order your fixtures and materials early, and ask your contractor to schedule the inspection as soon as rough-in is done, not after.
How to save money without cutting corners
Keeping your existing drain location is the single biggest lever for controlling cost, since relocating it can add thousands. Beyond that:
- Choose a prefab pan or mid-range solid surface over full custom tile if budget matters more than a showroom look
- Get itemized bids so you can see exactly where waterproofing and labor costs sit, never let a contractor skip a written scope
- Pick framed glass over frameless if you need to trim a few hundred dollars without touching structure or plumbing
- Buy fixtures and tile ahead of the install date to avoid delays that stretch labor costs
Why sequencing matters more than the finish you pick
A tub-to-shower job fails at the transitions, the corner where the wall meets the pan, the niche cut into the shower wall, not the tile pattern. Pros address this with continuous bonded waterproofing and by testing that membrane before anything gets covered.
Expressions Remodeling builds every bathroom project around a 3D visualization step before demo starts, so the layout, drain location, and finish choices are locked in before a single wall comes down. That sequencing, permits pulled early, rough-in inspected before closing walls, waterproofing verified before tile goes up, is what prevents the expensive rework that turns a $4,000 job into a $9,000 one.
A conversion done right is invisible five years later. A conversion done wrong shows up as a soft spot in the subfloor or a stain on the ceiling below.
Where a lot of tub to shower conversion advice gets it backwards
Most guides on this topic obsess over tile patterns and glass door styles. That’s the least important decision in the whole project. The research is pretty clear that the real risk sits in three places: drain relocation decisions, waterproofing continuity, and permit timing, and none of those show up in a glossy after photo.
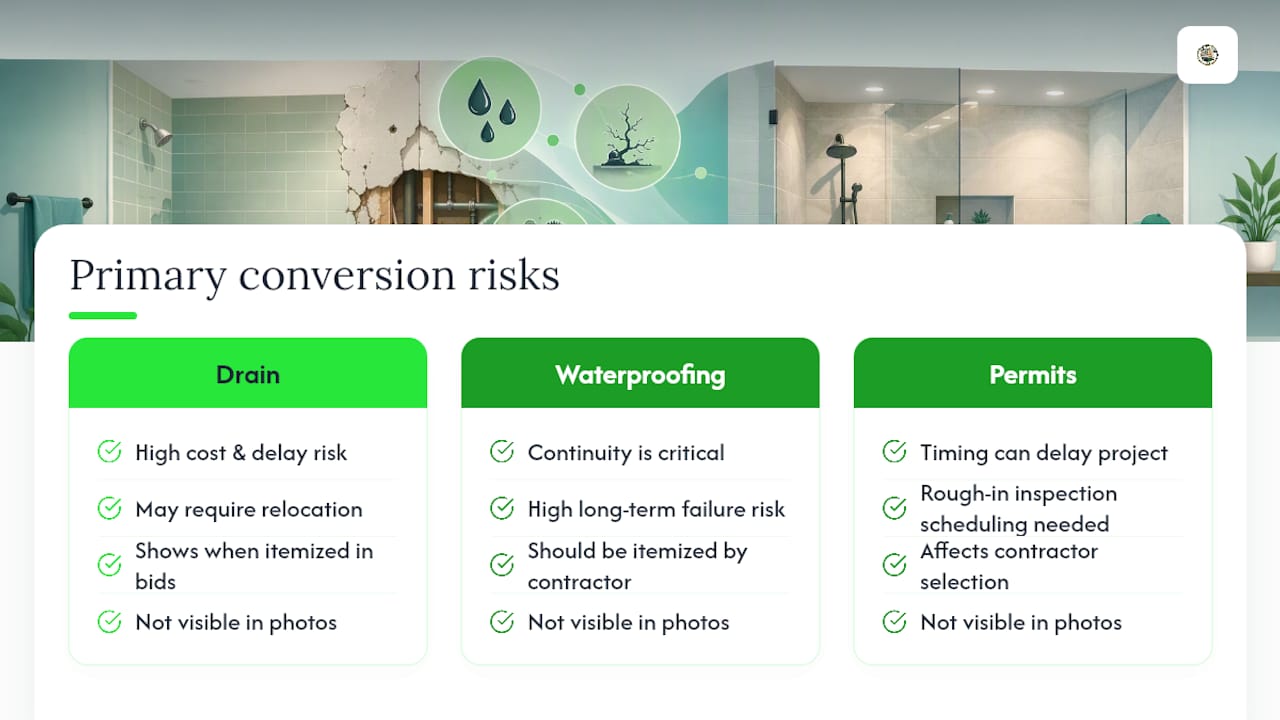
The conventional advice to “get three bids and pick the middle one” isn’t wrong, but it misses the actual differentiator. Bids should be compared on scope detail, not price alone. A contractor who itemizes waterproofing method, drain type, and inspection scheduling is telling you they’ve thought through the failure points. One who quotes a flat number for “shower conversion” hasn’t.
If you take one thing from this guide, prioritize the sequencing question over the material question. Ask your contractor how they handle rough-in inspection and waterproofing verification before you ask them about tile brands. Get that right, and the rest is aesthetics.
— Kierin
Ready to plan your shower conversion?
Expressions Remodeling gives St. Louis homeowners something most contractors skip: a complimentary 3D visualization of your new shower before any demo begins, so you’re approving a real layout, not a sketch on paper. That matters most on wet-area jobs like this one, where drain placement and waterproofing decisions are locked in early and expensive to change later.
Our process starts with a walkthrough of your existing bathroom, a discussion of your budget range, and an itemized estimate that breaks out materials, labor, and permit costs separately, so you know exactly what you’re paying for before work starts. We coordinate the licensed plumbing and permit work directly, so you’re not managing subcontractors yourself.
If you’re ready to see what your space could look like, request a quote through our bathroom remodeling services page and we’ll schedule your initial consultation.
Sources
- How Much Does Tub-to-Shower Conversion Cost? 2026 Data | Angi
- Tub to Shower Remodel Cost and Price Guide – Current Cost
- Bathtub to Shower Conversion Cost Calculator (2026)
- A guide to tub-to-shower conversions | Oatey