
Bathroom safety renovation is the process of systematically upgrading a bathroom to reduce fall risk and improve accessibility by targeting critical support points, traction surfaces, lighting, and layout. Understanding how bathroom safety renovation works means recognizing that the bathroom is the most dangerous room in the home for falls, particularly during movement transitions like stepping into a shower or lowering onto a toilet. The industry term for this work is “accessible bathroom design,” and it draws from ADA standards, occupational therapy principles, and structural remodeling practices. A well-planned renovation addresses grab bars, non-slip flooring, lighting, and spatial layout as a connected system, not a checklist of isolated fixes.
What are the critical risk points that guide bathroom safety planning?
Bathroom fall risk is systemic. Fixing only one element, like adding a grab bar, without improving traction, lighting, and layout will not sufficiently reduce falls. The highest-risk moments happen during movement transitions: stepping over a tub edge, lowering onto a toilet, and standing up from a seated position.
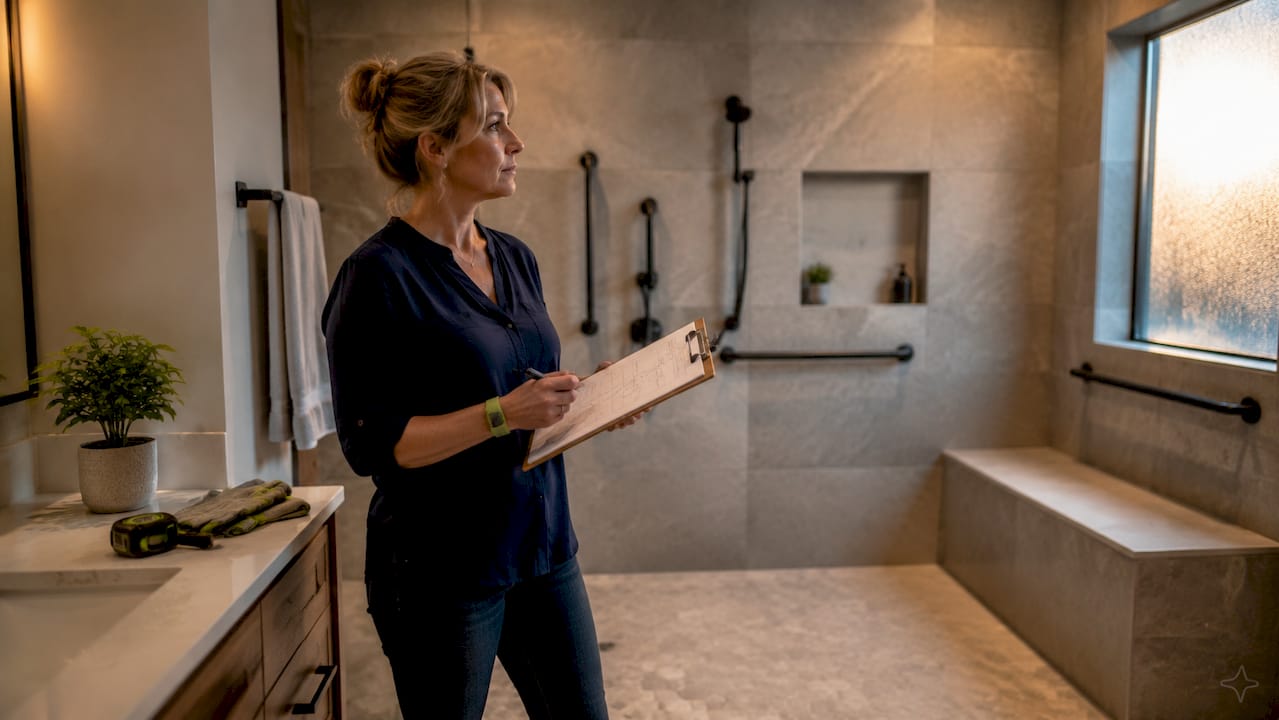
A proper safety assessment maps user pathways from the bedroom or hallway through to the toilet and shower. This mapping reveals where a person is most likely to lose balance, grip, or footing. Occupational therapists use this exact method to prioritize which upgrades matter most for a specific person’s mobility level.
The three risk factors that combine most dangerously are:
- Traction failure: Wet tile floors and smooth tub surfaces offer almost no grip during transitions.
- Support gaps: Reaching for a towel bar or soap dish instead of a proper grab bar is a leading cause of falls.
- Poor visibility: Shadows and glare at night create disorientation, especially for older adults.
Pro Tip: Walk the full path from your bed to the toilet at night with the lights off. Every obstacle, slick surface, and dark corner you encounter is a renovation priority.
How does proper grab bar installation work during a bathroom renovation?
Grab bar installation is a structural task, not a surface-level upgrade. ADA standards specify that grab bars must be mounted at 33–36 inches from the finished floor to the top of the gripping surface. Side-wall bars at the toilet require a minimum length of 42 inches. Rear-wall bars are typically 36 inches. Finger clearance of 1.5 inches between the bar and the wall is required for a secure grip.
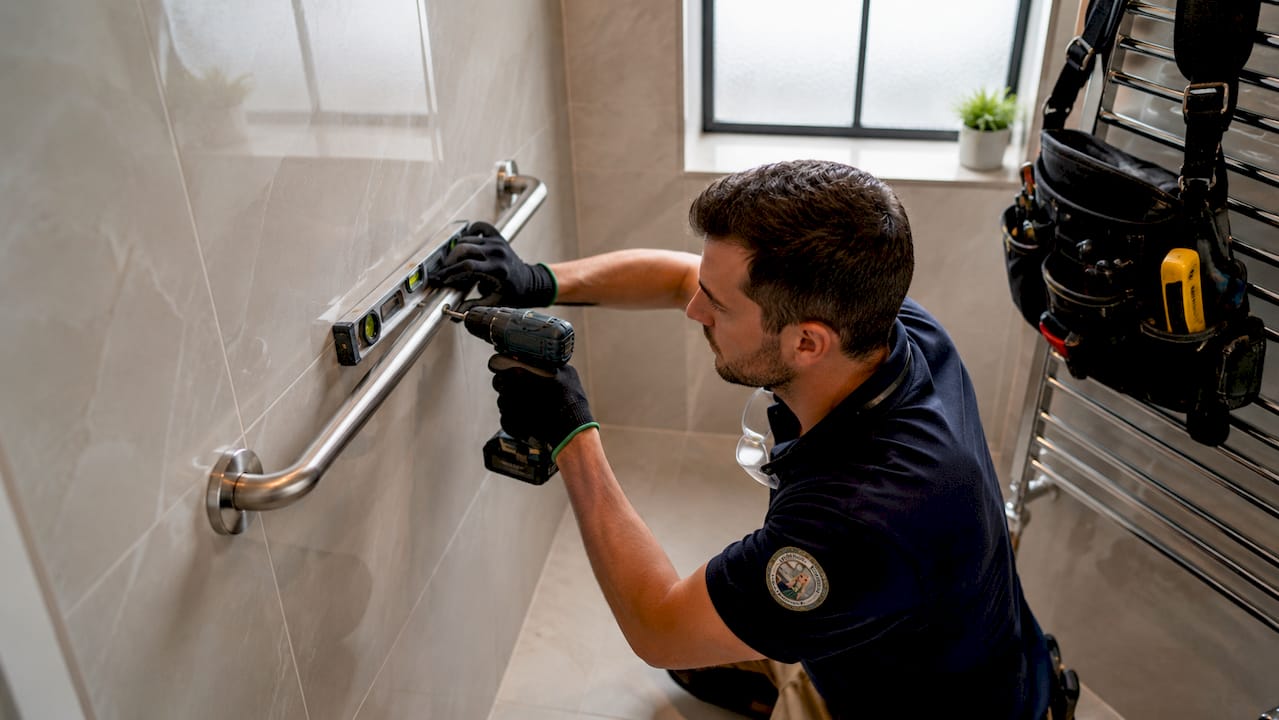
The most common installation mistake is anchoring into tile alone. Tile anchoring is unsafe. Bars must be secured into solid wood blocking, typically 2×6 or 2×8 lumber, positioned behind the finished wall surface. The best practice is to plan and install this blocking before the tile goes up, not after.
Here is the correct sequence for a grab bar installation:
- Plan blocking placement before any tile work begins. Mark stud locations and confirm blocking height matches ADA requirements.
- Install solid wood blocking between studs at the correct height. Use 2×6 or 2×8 lumber for maximum load capacity.
- Complete tile installation over the blocking. Mark bar locations on the tile surface before grouting.
- Mount the grab bar through tile into the blocking using stainless steel hardware rated for the load.
- Test the installation by applying dynamic force simulating full body weight to confirm secure anchoring.
Pro Tip: If your walls are already tiled, a contractor can use an endoscope camera to locate existing blocking or add new blocking through a small access panel, preserving the tile surface.
| Feature | DIY Installation | Professional Installation |
|---|---|---|
| Blocking access | Difficult without opening walls | Planned during full renovation |
| ADA compliance | Risk of incorrect height | Measured to standard |
| Load testing | Often skipped | Standard practice |
| Waterproofing integrity | Frequently compromised | Maintained with proper sealing |
Additional safety hardware worth adding during the same renovation includes a raised toilet seat, a fold-down shower bench, and a handheld showerhead mounted at a reachable height.
What flooring, lighting, and layout changes improve bathroom safety?
Non-slip surfaces are the foundation of any bathroom safety improvement. The best options for shower floors are small-format mosaic tiles, which create more grout lines and more grip. Outside the shower, textured vinyl or slip-resistant ceramic tile outperforms polished stone or large-format smooth tile.

Lighting design for a safe bathroom requires thinking about both day and night conditions. Night lighting and visibility are as critical as daytime brightness. Shadows cast by a single overhead fixture create dangerous blind spots near the toilet and shower entry. The solution is layered lighting: a primary overhead fixture, a night light at floor level near the door, and task lighting near the vanity.
Layout adjustments that reduce fall risk include:
- Clear floor space: A minimum 60-inch turning radius for wheelchair access, but even for ambulatory users, removing clutter from the floor reduces trip hazards significantly.
- Outward-swinging or sliding doors: Inward-swinging doors can trap a person who has fallen against them.
- Seating options: A shower bench or fold-down seat reduces fatigue and the need to balance on one foot while bathing.
| Modification | Standard Bathroom | Safety-Optimized Bathroom |
|---|---|---|
| Shower floor | Smooth tile | Mosaic or textured non-slip tile |
| Door swing | Inward | Outward or sliding |
| Lighting | Single overhead | Layered with night light |
| Toilet area | Standard height | Raised seat or comfort-height toilet |
Explore bathroom upgrades that improve visibility as part of a broader safety renovation plan.
How do construction-phase safety practices affect renovation outcomes?
The renovation process itself creates hazards that homeowners rarely anticipate. Dust, debris, and disrupted fire safety systems are real risks during any occupied home renovation. Planning for these hazards is part of how a professional safety renovation works.
The EPA’s Renovation, Repair, and Painting program requires lead-safe certified contractors for any paid renovation that disturbs painted surfaces in homes built before 1978. Lead dust created during demolition is invisible and dangerous. Hiring an EPA-certified contractor is not optional in these homes.
Safe renovation practices during construction include:
- Work area containment: Plastic sheeting seals off the renovation zone from the rest of the home.
- HEPA dust control: HEPA-filtered vacuums and sanders capture fine particles before they spread.
- PPE requirements: Workers wear respirators and disposable coveralls when disturbing painted or dusty surfaces.
- Ventilation planning: Windows and exhaust fans are used to direct airborne particles away from occupied areas.
Fire safety during occupied renovations is a separate concern. The NFPA requires defined fire safety programs for renovations in occupied buildings, covering hot work controls, combustible material storage, and protection of smoke alarms. A contractor who removes a smoke detector during tile work and forgets to reinstall it creates a serious hazard. Ask your contractor directly how they handle fire safety during construction.
Dust control and occupant protection are areas where homeowners can and should engage. Request written confirmation of containment methods before work begins.
What do bathroom safety renovations cost, and what funding is available?
Cost expectations for bathroom safety improvements vary widely by scope. Basic safety packages covering grab bars, a non-slip mat, a shower bench, a raised toilet seat, and improved lighting typically cost under $900 installed. A full barrier-free renovation with a roll-in shower, comfort-height toilet, and widened doorways runs significantly higher depending on structural and plumbing requirements.
Structural and plumbing coordination is the biggest cost driver in older homes. Moving a drain to create roll-in shower access requires opening the subfloor. These structural tasks must be completed before waterproofing and backerboard installation, which means sequencing matters as much as budget.
Funding options worth researching include:
- Medicare Advantage plans: Some plans cover home modification benefits for qualifying members.
- VA grants: The VA’s Specially Adapted Housing grant program covers bathroom modifications for eligible veterans.
- State and local programs: Many states offer low-interest loans or grants for accessibility modifications through aging services agencies.
- Tax deductions: Medical necessity modifications may qualify as a deductible medical expense under IRS guidelines.
The DIY versus professional decision comes down to structural access. Replacing a showerhead or adding a non-slip mat is a reasonable DIY task. Installing grab bars with proper blocking, moving plumbing, or widening a doorway requires a licensed contractor. Use the bathroom remodel checklist from Expressions Remodeling to map which tasks need professional coordination.
Pro Tip: Get a written scope of work that separates structural tasks from finish tasks. This lets you DIY the finish items and hire out only the structural work, which controls costs without compromising safety.
Key Takeaways
Bathroom safety renovation works best when it addresses traction, support, lighting, and layout as a connected system rather than a set of isolated upgrades.
| Point | Details |
|---|---|
| Risk assessment first | Map movement transitions from bedroom to toilet and shower before planning any upgrades. |
| ADA grab bar standards | Mount bars at 33–36 inches into solid wood blocking, never into tile alone. |
| Layered lighting matters | Add floor-level night lighting and task lighting to eliminate shadows near high-risk zones. |
| Construction safety is part of the job | Require EPA lead-safe certification and NFPA fire safety planning from your contractor. |
| Funding options exist | Medicare Advantage, VA grants, and state programs can offset the cost of accessibility modifications. |
What I’ve learned from watching homeowners approach bathroom safety renovations
The most common mistake I see is treating bathroom safety as a product purchase rather than a design process. A homeowner buys a grab bar kit from a hardware store, mounts it into drywall anchors, and considers the job done. That bar will fail under load. Worse, it creates false confidence.
The second mistake is fixing one thing in isolation. I’ve seen beautifully installed grab bars in bathrooms with polished marble floors, no night lighting, and an inward-swinging door. The bar helps. The rest of the environment still causes falls. Safety features for bathrooms only work when they function as a system.
What actually works is starting with a walk-through that treats the bathroom like a movement problem, not a decoration problem. Where does the person reach for support? Where do they stand on one foot? Where is the floor wet when the light is off? Those answers tell you exactly where to spend money. A full bathroom renovation approach that integrates safety into the design from the start will always outperform a series of add-on fixes.
The homeowners who get the best outcomes are the ones who involve a professional for the structural work and stay closely engaged in the design decisions. You know how you move in that space. A good contractor knows how to build it. That combination produces a bathroom that is genuinely safer, not just one that looks like it should be.
— Kierin
Bathroom safety upgrades done right in St. Louis
Expressions Remodeling works with St. Louis homeowners to plan and build bathrooms that meet real safety needs without sacrificing style. From ADA-compliant grab bar installation with proper structural blocking to full barrier-free shower conversions, every project starts with understanding how you use the space.
The team at Expressions Remodeling handles structural coordination, plumbing sequencing, waterproofing, and finish work as a single managed process. That means no gaps between trades and no shortcuts on the details that matter most. If you are ready to make your bathroom safer, explore the bathroom remodeling services Expressions Remodeling offers in St. Louis, or request a free consultation to get started.
FAQ
What is the first step in a bathroom safety renovation?
The first step is a movement-based risk assessment that maps the user’s path from the bedroom to the toilet and shower. This identifies the specific transition points where falls are most likely to occur.
Where should grab bars be installed in a bathroom?
ADA standards require grab bars at 33–36 inches from the finished floor, with a 42-inch side-wall bar at the toilet and a 36-inch rear-wall bar. All bars must be anchored into solid wood blocking, not drywall or tile alone.
How much does a basic bathroom safety renovation cost?
A basic safety package covering grab bars, non-slip surfaces, a shower bench, a raised toilet seat, and improved lighting typically costs under $900 installed. Full barrier-free renovations with structural and plumbing changes cost significantly more.
Can Medicare or the VA help pay for bathroom safety modifications?
Some Medicare Advantage plans include home modification benefits, and the VA’s Specially Adapted Housing grant covers bathroom upgrades for eligible veterans. State aging services agencies also offer grants and low-interest loans for accessibility modifications.
Is it safe to install grab bars yourself?
Installing grab bars without confirmed structural blocking behind the wall is unsafe. DIY installation is reasonable only when blocking is already in place or accessible. For tiled walls in existing bathrooms, professional installation with proper structural access is the safer choice.
Recommended
- Simple Bathroom Remodeling Upgrades That Make a Big Difference – Expressions Remodeling
- Transform Your Home: Boosting Value with Bathroom Upgrades – Expressions Remodeling
- Bathroom Remodel Checklist: Your Step-by-Step Guide
- Smart Bathroom Remodeling Ideas for Clayton Homeowners: Style, Function, and Long-Term Value – Expressions Remodeling