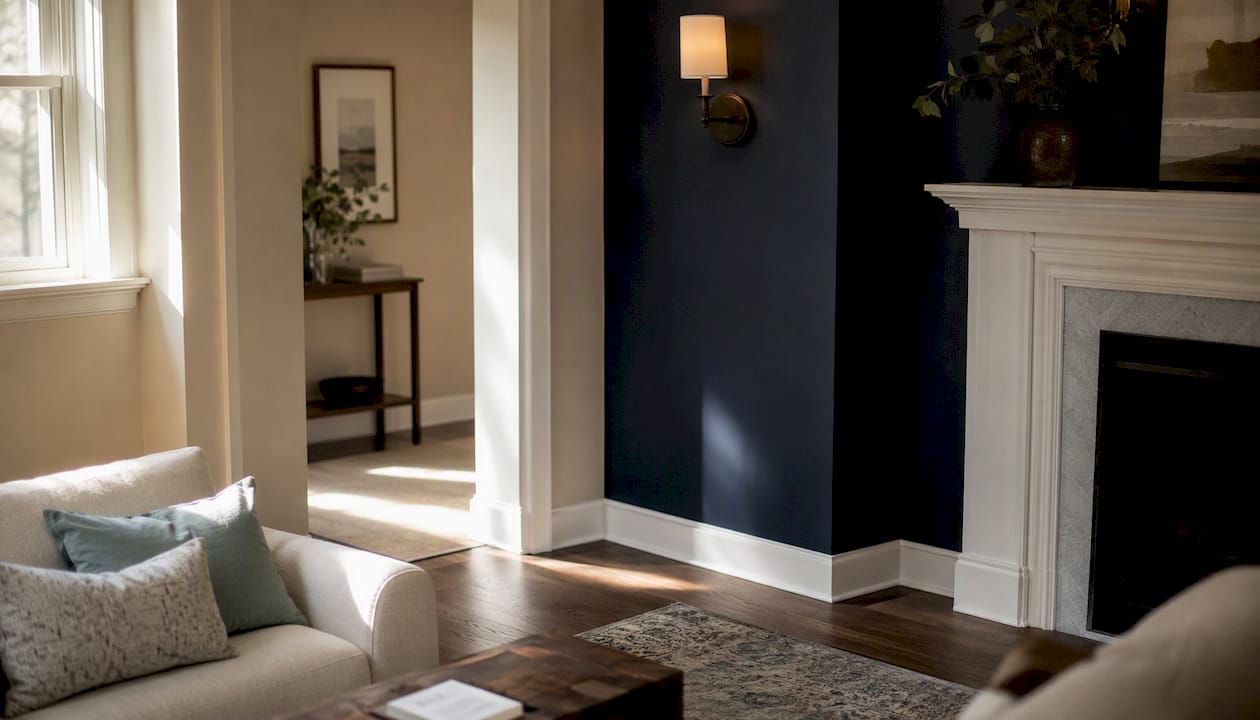
An accent wall is a single wall finished differently from the other three, whether through color, material, or texture, to create a focal point or add visual depth to a room. That’s the core definition. Everything else is execution.
The most common applications:
- Paint a deep, contrasting shade behind a sofa or bed to anchor the furniture and pull the eye.
- Wallpaper or wood slats add pattern or vertical texture, often behind a headboard or fireplace.
- Stone or tile creates permanence and a luxury feel, typically in kitchens, bathrooms, or entryways.
The rest of this guide covers which wall to pick, how much contrast works, when to DIY versus call a pro, and whether accent walls are still worth doing in 2026.
Key Takeaways
An accent wall works when the right wall is chosen, the contrast is calibrated to the room’s light, and the finish connects to something already in the space.
| Point | Details |
|---|---|
| Choose the sight-line wall | Pick the wall your eye hits first when entering; avoid backlit or heavily interrupted surfaces. |
| Respect the 60-30-10 rule | The accent wall typically holds the 30% secondary color; stray from this and the room feels unresolved. |
| Check LRV before committing | Accent walls succeed with an LRV between roughly 8 and 20; below that range, poorly lit rooms feel oppressive. |
| Test color in-situ | Paint a large swatch on the actual wall and check it at morning, midday, and evening light before buying a full gallon. |
| Expressions Remodeling | Offers complimentary 3D design and fixed estimates for accent-wall and full remodeling projects in St. Louis, MO. |
Table of Contents
- What does an accent wall mean in design, exactly?
- Why do designers use accent walls?
- Which wall should you actually choose?
- How to choose the right color and material
- How to create an accent wall: the basics
- Common accent-wall mistakes and how to avoid them
- Are accent walls still in style in 2026?
- When should you call a remodeler?
- How Expressions Remodeling approaches accent-wall projects
- Ready to see your accent wall before you build it?
- Sources
What does an accent wall mean in design, exactly?
The term “accent wall” and “feature wall” are often used interchangeably, but there’s a real distinction worth knowing. An accent wall is typically a painted or wallpapered surface. A feature wall implies something more architectural: a built-in bookcase, a fireplace surround, exposed brick, or a full paneling treatment. Feature walls tend to be permanent and higher-cost; accent walls are usually reversible.
Common finish types and what each one does visually:
- Paint: The fastest and cheapest option. A single contrasting color adds depth without texture.
- Wallpaper: Adds pattern and personality. Peel-and-stick versions make this renter-friendly.
- Wood slats or board-and-batten: Vertical lines draw the eye upward and add warmth. Reclaimed or pallet wood gives a rustic, tactile quality that paint simply can’t replicate.
- Stone or tile: Durable and high-impact. Works especially well in kitchens and bathrooms where moisture resistance matters.
- Textured plaster: A softer, organic look that’s trending in 2026 alongside limewash finishes.
One alternative worth knowing: color-drenching. That’s when walls, trim, and ceiling all get the same rich shade, creating an enveloping effect rather than a single focal point. It’s a different design goal entirely, not a better or worse one.
Pro Tip: If you’re unsure whether to accent or drench, look at your ceiling height. Rooms with ceilings above nine feet handle drenching well. Rooms with standard eight-foot ceilings often benefit more from a single accent wall, which adds depth without making the space feel smaller.
Why do designers use accent walls?
The purpose of an accent wall is to solve a specific visual problem, not just add color for its own sake. Designers reach for this technique when a room lacks a clear focal point, when furniture needs grounding, or when a long flat wall needs to feel less like a corridor.
The main goals, matched to the right treatment:
- Create a focal point in a room with no architectural anchor: use a saturated paint color or bold wallpaper on the wall the eye hits first when entering.
- Anchor furniture like a sofa or bed: a deep tonal paint two shades darker than the room’s dominant color reads as intentional and calm.
- Define zones in open-plan spaces: a painted or paneled wall signals where the dining area ends and the living area begins without needing a physical partition.
- Highlight architecture: a fireplace surround or alcove becomes more dramatic when the wall behind it contrasts with the rest of the room.
- Affect perceived size: dark colors on a far wall pull it visually closer, making a long narrow room feel more square. Light colors on a side wall push it out.
The perceived-size effect is subtle but real. A navy wall at the end of a hallway shortens the visual length. The same navy on a side wall in a wide room adds intimacy without shrinking the space.
Which wall should you actually choose?
This is where most accent-wall regrets begin. The color gets blamed, but the real culprit is usually the wrong wall or the wrong ratio. Run through these five checks before picking up a brush.
| Check | What to look for | Why it matters |
|---|---|---|
| Sight-line wall | The wall your eye lands on first when entering the room | Natural framing; the accent reads immediately |
| Existing feature | Fireplace, built-in, or alcove already on that wall | Amplifies what’s already there |
| Furniture anchor | Wall behind the sofa, bed, or dining table | Grounds the room’s main piece |
| Unbroken surface | Minimal doors, windows, and outlets | Interruptions fragment the effect |
| Avoid backlit walls | Walls with large windows behind them | Backlighting washes out color; the accent disappears |
Professionals consistently prioritize sight-line walls and inside corners, because corner shadows naturally frame the color and give it depth even before you’ve chosen a shade.
On proportion: the 60-30-10 rule is the standard designer guideline. Stray too far from this and the room starts to feel unresolved.
How to choose the right color and material
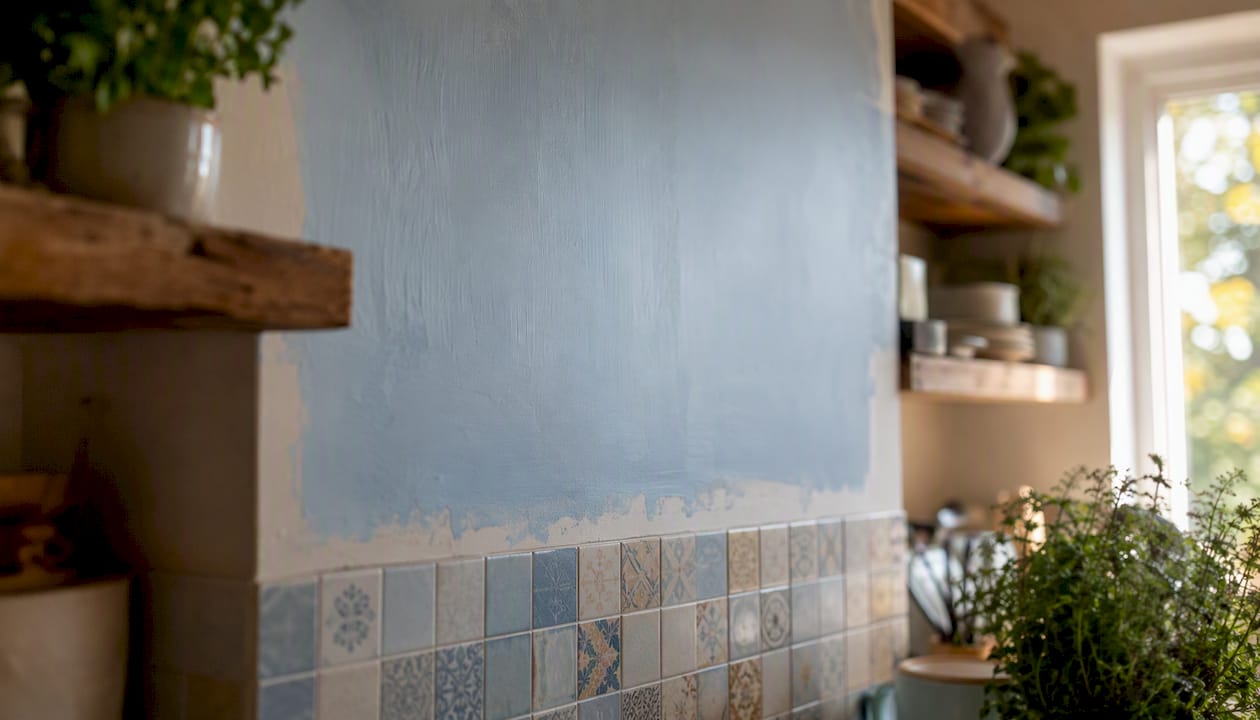
Color choice matters less than most people think. Light matters more. A forest green that looks moody and rich in a south-facing room with afternoon sun can feel oppressive in a north-facing room with flat, cool light.
Light Reflectance Value (LRV) is the metric that quantifies this. It runs from 0 (pure black, absorbs all light) to 100 (pure white, reflects all light). Accent walls tend to succeed when the LRV falls within a moderate range suitable for contrast and light reflection. Below that range, the wall can feel like a hole in the room, especially in poorly lit spaces. Above it, the contrast isn’t strong enough to read as intentional.
A quick decision checklist:
- Check your natural light first. North-facing rooms: stay above LRV 12 to avoid oppression. South-facing rooms: you can push darker.
- Decide on contrast level. Tonal (same family, two shades darker) is the safest and most reversible. Saturated contrast (complementary color) is bolder and harder to walk back.
- Match the energy. Analogous color schemes (colors adjacent on the wheel) feel calm. Complementary schemes (opposite on the wheel) feel energetic.
- Test in-situ. Paint a 12-by-12-inch swatch directly on the wall and check it at 8 AM, noon, and 7 PM before committing.
Material tradeoffs are straightforward. Paint costs the least and reverses easily, often one gallon and a weekend. Wallpaper adds pattern but requires more prep and careful removal. Wood paneling adds texture and warmth at a moderate cost but needs fasteners or adhesive. Stone and marble are permanent, heavy, and require professional installation, but nothing else delivers the same sense of permanence and luxury.
Pro Tip: Always buy a sample pot before committing to a full gallon. Paint the swatch large enough to include a light switch or outlet so you can see how the color reads around real interruptions.
How to create an accent wall: the basics
Painted accent wall
- Clean the wall and fill any holes with spackle. Sand smooth when dry.
- Apply painter’s tape along the ceiling line, baseboards, and adjacent walls.
- Prime if switching from a dark color to a light one, or painting over a glossy finish.
- Cut in along edges with a 2-inch angled brush.
- Roll the field in a W pattern, working in sections. Let dry fully.
- Apply a second coat. Remove tape while the paint is still slightly tacky.
Peel-and-stick wallpaper
- Clean the wall thoroughly; any grease or dust will cause peeling.
- Measure and cut panels with 2 inches of extra length top and bottom.
- Start at a plumb vertical line, not the corner (corners are rarely truly square).
- Smooth each panel from center outward to push out air bubbles.
- Trim excess at ceiling and baseboard with a straight edge and utility knife.
Wood slats or board-and-batten
- Mark stud locations before starting.
- Use construction adhesive plus finish nails for a secure hold.
- Space slats consistently with a spacer block to keep gaps even.
- Fill nail holes, sand, and finish with paint or stain before final installation if possible.
Safety callout: Work in a ventilated room when using adhesives or oil-based paints. Use a stable ladder rated for your weight. Turn off the circuit breaker for any outlet on the wall before cutting or nailing near electrical boxes.
For stone veneer, large-format tile, or any treatment that involves moving electrical outlets or adding accent lighting, hire a professional. The substrate prep alone (cement board, waterproofing membrane) is where DIY errors become expensive.
Common accent-wall mistakes and how to avoid them
The most common reason a DIY accent wall gets repainted within 18 months isn’t the color — it’s the wall choice or the ratio. Here’s what goes wrong most often:
- Wrong wall: Accenting the wall with the most windows backlights the color and kills the effect. Always choose the wall the eye hits first, not the most prominent architectural surface.
- Wrong ratio: One accent wall in a four-wall room is the standard. Two accent walls usually compete. Three is just a room with one neutral wall.
- Ignoring LRV: A color that looks perfect on a chip can feel suffocating on 120 square feet of wall in a dim room.
- Competing color scheme: The accent color needs to connect to something already in the room — a rug, a pillow, a piece of art. A random bold color with no echo elsewhere reads as an accident.
- Busy wallpaper with no anchor: A heavily patterned wallpaper needs at least one solid color in the room that matches one of its tones exactly.
Quick fixes: if a painted wall is too dark, add a white or light-toned trim piece at chair-rail height to break the mass. If the color feels wrong but not terrible, layer in accent lighting (a picture light or wall sconce) to warm or cool the perception before repainting. For renters, peel-and-stick wallpaper and removable wood-panel systems are the cleanest reversible options.
Are accent walls still in style in 2026?
Yes, with a caveat. Designers in 2026 are actively debating accent walls versus color-drenching, and the answer depends on the room, not the trend cycle.
Roughly 4 in 10 DIY accent walls are repainted within 18 months, most often because of wrong wall placement or wrong contrast ratio, not because the homeowner chose the wrong color. (Facade Colorizer, 2026)
Color-drenching creates an enveloping, finished feeling that works beautifully in rooms with strong architectural bones, high ceilings, and abundant natural light. Accent walls work better when there’s a clear focal point to frame, a specific piece of furniture to anchor, or a room where drenching would feel claustrophobic.
| Scenario | Better choice |
|---|---|
| High ceilings, strong natural light, open plan | Color-drenching |
| Clear focal point (fireplace, bed, sofa) | Accent wall |
| Small or low-ceiling room | Tonal accent wall (LRV 12–20) |
| Renter or uncertain taste | Peel-and-stick or tonal paint accent |
| North-facing, low light | Warm tonal accent, LRV above 12 |
For 2026 specifically, designers favor tonal variants and nature-connected palettes — sage, eucalyptus, warm clay. Deep navy and forest green still work when the room gets enough light to carry them.
When should you call a remodeler?
DIY works well for paint, peel-and-stick wallpaper, and basic wood slat installations. Call a professional when:
- The finish is structural (stone veneer, large-format tile, built-ins).
- Electrical work is part of the plan (adding sconces, recessed lighting, or moving outlets).
- The wall requires substrate repair or waterproofing before the finish goes on.
- The material is permanent and high-cost, where a mistake is expensive to fix.
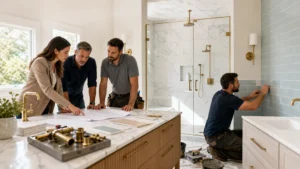
A good remodeler brings more than labor. Expect a site visit, help narrowing material choices, a timeline estimate, and a fixed or time-and-materials quote. The best firms also offer 3D design previews so you can see the finished wall before anything is purchased or installed. That single step eliminates most of the “I didn’t expect it to look like that” regrets.
Questions to ask at the first consultation: What primer and finish brands do you use? How many coats are standard? What’s your process if the substrate needs repair? Do you offer a warranty on labor? Can you show me the LRV of the colors you’re recommending?
For balancing style, function, and budget across a larger remodel, a contractor who handles design and installation under one roof saves significant coordination time. Expressions Remodeling offers complimentary 3D design as part of the consultation process, which is particularly useful for accent-wall projects where color and scale are hard to visualize flat.
How Expressions Remodeling approaches accent-wall projects
Every accent-wall project starts with a sight-line check. Before any color or material gets discussed, the question is: which wall does the eye land on first, and what’s already on it? That answer drives everything else.
From there, color samples go on the actual wall, not a chip card under fluorescent light. We check them at multiple times of day because a sage green at noon and a sage green at 7 PM in lamplight are genuinely different colors. The 3D rendering step comes next, giving homeowners a photorealistic preview of the finished room before a single gallon is purchased.
On the craft side, substrate prep is non-negotiable. A flawless finish on a poorly prepped wall fails within a year. That means filling, sanding, priming correctly for the substrate, and applying the right number of coats for the material. For stone or tile accent walls, it means cement board, proper adhesive, and grouting that matches the stone’s undertone rather than fighting it.
The long-term value of quality craftsmanship shows up most clearly in permanent finishes. A painted wall can be corrected. A stone wall installed without proper substrate prep is a much more expensive problem.
Ready to see your accent wall before you build it?
Expressions Remodeling gives St. Louis homeowners a concrete picture of the finished result before any work begins. The complimentary 3D design service means you approve the color, material, and scale on screen first, then the crew executes it. No guessing, no repaints, no surprises on delivery day.
The consultation covers a site visit, material selection guidance, LRV review for your specific lighting conditions, and a fixed estimate. Whether the project is a painted accent wall in a living room or a full stone feature wall in a kitchen remodel, the process is the same: see it first, then build it. Request your free consultation and 3D preview at Expressions Remodeling’s pricing and planning page.
Sources
- How to Choose an Accent Wall: Essential Dos and Don’ts
- Accent wall
- Accent Wall Color Strategy 2026: Designer Rules
- How to Choose an Accent Wall