
REMODELING TIPS
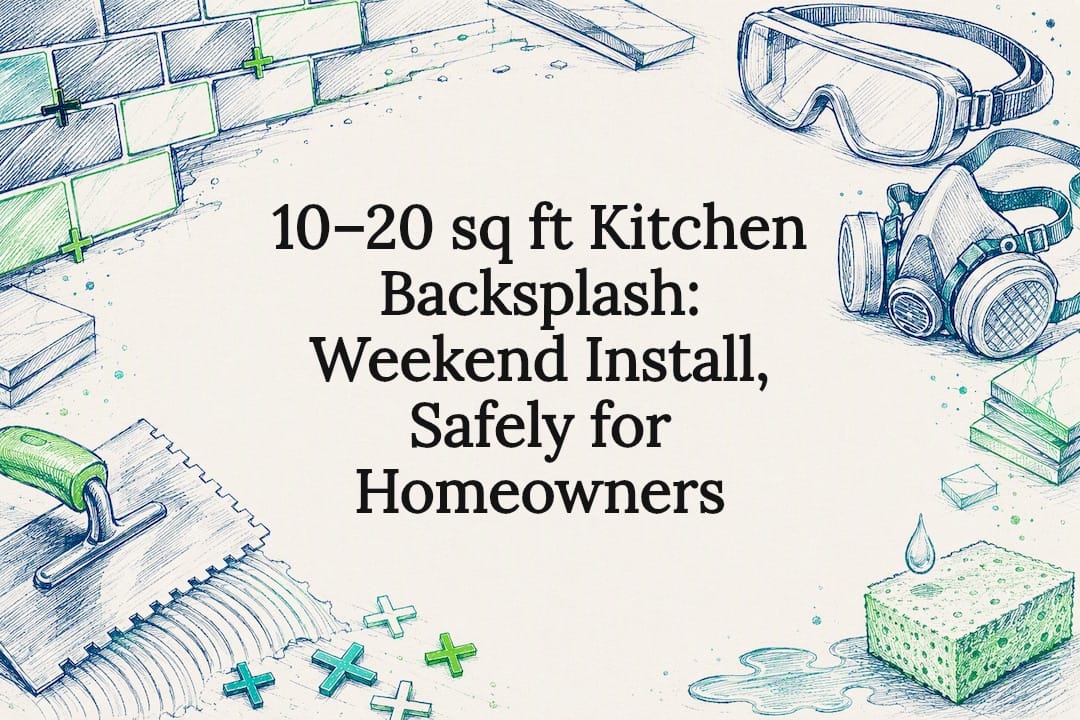
Yes, most homeowners can handle kitchen backsplash installation over a weekend using thinset, mastic, or adhesive mats like SimpleMat, and a small backsplash typically takes a full afternoon plus grouting the next day. The catch is safety, not skill: homes built before 1978 need lead testing before you cut into painted walls, and cutting stone or fiber cement tile kicks up silica dust that demands wet cutting or a respirator. Skip either precaution and you’re not saving money, you’re trading it for a health risk. If you would rather hand the job to a pro, our St. Louis kitchen remodeling team can take it on as part of a larger kitchen update.
TL;DR:
- Homeowners should prioritize lead testing if the house was built before 1978 and plan to cut into painted walls to avoid health risks.
- Dry cutting stone or fiber cement tile releases silica dust, which necessitates wet methods and respirator use to protect respiratory health.
- Thinset mortar is the most versatile adhesive for wet areas and stone, while mastic suits dry ceramic backsplashes away from moisture.
- A nearby outlet or wall imperfection may lead to unexpected delays or costs, especially in homes with hidden lead paint or damaged substrates.
- Hiring a professional is advisable for electrical modifications, large stone installations, or structure repairs, with full kitchen remodeling projects at Expressions Remodeling starting from $17,999.
The material you pick decides half your difficulty level before you even open a bag of thinset. Ceramic and porcelain tile forgive mistakes and cut easily with a snap cutter. Glass tile chips if you rush it and usually needs a wet saw with a diamond blade made for glass. Natural stone (marble, travertine, slate) looks great but is porous, needs sealing before grout goes on, and often requires back buttering for full coverage. Metal tile is durable and modern but shows every trowel ridge through thin metal sheets, so notch size matters more than usual.
Here’s what actually needs to be in your cart or your rental order:
For adhesives, thinset mortar is the standard for wet-prone areas and most stone or glass tile. Mastic works fine for dry ceramic backsplashes but shouldn’t touch anything near a sink splash zone or stone tile, since moisture and mastic don’t mix well long term. Grout comes down to sanded for joints over 1/8 inch and unsanded for tighter lines.
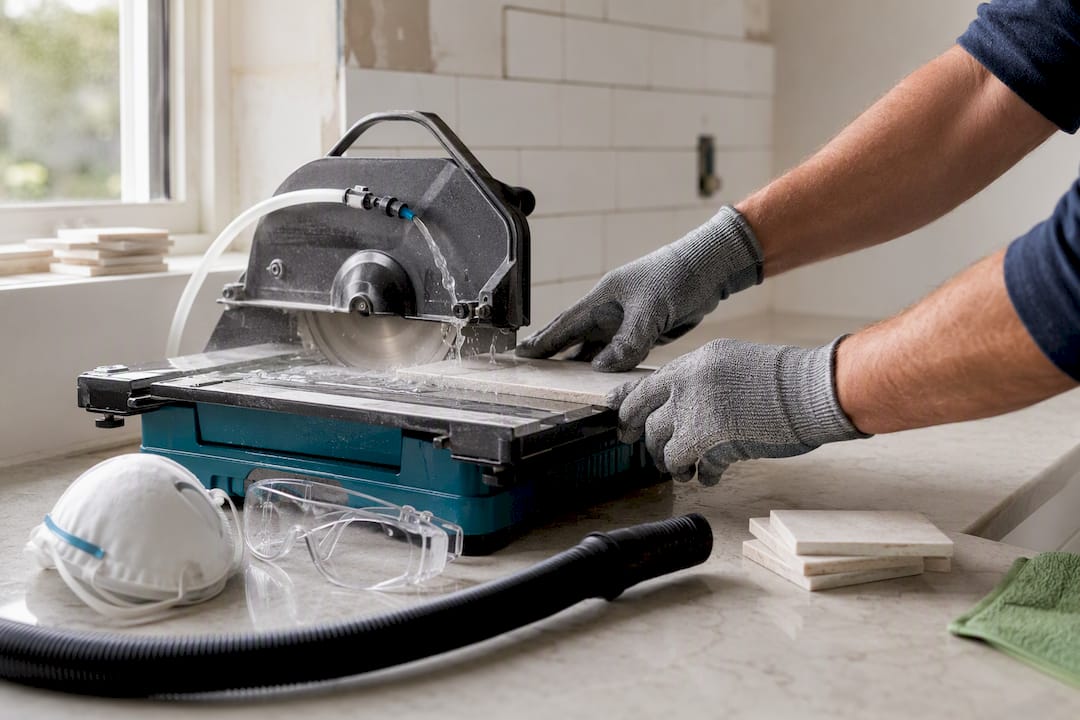
Dust control belongs on this list too. An N95 or better respirator, a HEPA vacuum, and wet-cutting capability aren’t optional extras when stone or fiber cement is involved. NIOSH’s silica guidance recommends wet methods and dust collection specifically because dry cutting these materials releases respirable crystalline silica.
Before any adhesive touches the wall, figure out what you’re actually working with. Painted drywall in good shape usually just needs cleaning and a light scuff sand. Existing tile can sometimes be tiled over if it’s flat and well bonded, though most pros still recommend removing it. Uneven or damaged drywall may need cement backerboard, especially behind a stove where heat and grease build up over years.
Pro Tip: EPA’s own DIY lead-safe resource suggests using cleaning verification cards after cleanup in older homes. It’s a five-minute check that tells you whether your containment actually worked, instead of just hoping it did.
A 30 square foot backsplash means buying material that covers a slightly larger area to allow for cuts, breakage, and future repairs. Skimping here is the single most common reason DIYers end up mid-project at the tile store on a Saturday afternoon.
This dry run takes a short amount of time and prevents the single ugliest DIY mistake: a razor-thin tile sliver staring back at you every time you cook dinner.
Thinset mortar is the default choice for a reason. It bonds well to almost any prepped substrate, handles moisture near sinks and stovetops, and works with glass, stone, ceramic, and porcelain alike. Mix it to a peanut-butter consistency with a drill paddle, let it slake for the time listed on the bag (usually 5 to 10 minutes), then remix before applying.
Mastic is the lighter-duty option. It’s pre-mixed, easier for first-timers to handle, and fine for dry ceramic tile backsplashes away from the sink. It’s a poor match for glass tile (it can show through translucent pieces) and a bad match for stone, which needs the vapor permeability thinset provides.
SimpleMat® from Custom Building Products is the newer option worth knowing about. It’s a pressure-sensitive adhesive mat that skips the mixing step entirely and, according to Custom Building Products’ own installation guidance, allows grouting in as little as an hour in many cases rather than waiting a full day for thinset to cure. That speed comes with limits: it needs a flat, stable substrate, and it has restrictions on tile size and thickness that rule it out for large-format or heavy stone tile.
Application technique matters as much as the product choice:
Pro Tip: Buy one extra box of tile beyond your calculated total. Running short mid-project when the store is out of your dye lot is a much bigger headache than storing a few spare pieces in the garage.
Straight cuts across a full tile are the easy part. A snap cutter handles those cleanly for ceramic and porcelain. Curved cuts, notches around outlet boxes, and anything in glass or stone call for a wet saw, and a simple L-shaped notch around an outlet is usually two straight cuts, not one complicated one.
Where your backsplash tile meets a dissimilar surface, a window sill, a different tile field, or a long unbroken run, a movement joint prevents cracking down the road. Schluter’s DILEX-BWS profile is embedded in the thinset at these transition points and sized to match your grout line width, giving the tile room to expand and contract without the grout taking the strain.
Let thinset cure for 24 hours before grouting; SimpleMat may allow grouting within an hour per the manufacturer’s own guidance, but always confirm the specific product’s timing before you start.
Pro Tip: A haze that won’t wipe off usually means the grout dried too long before cleanup. A grout haze remover made for your grout type, applied a few days after installation, clears it without damaging the surface.
Maintenance afterward is simple: wipe with a pH-neutral cleaner, avoid vinegar or bleach on natural stone, and reseal stone grout or tile annually if it starts absorbing water instead of beading it.
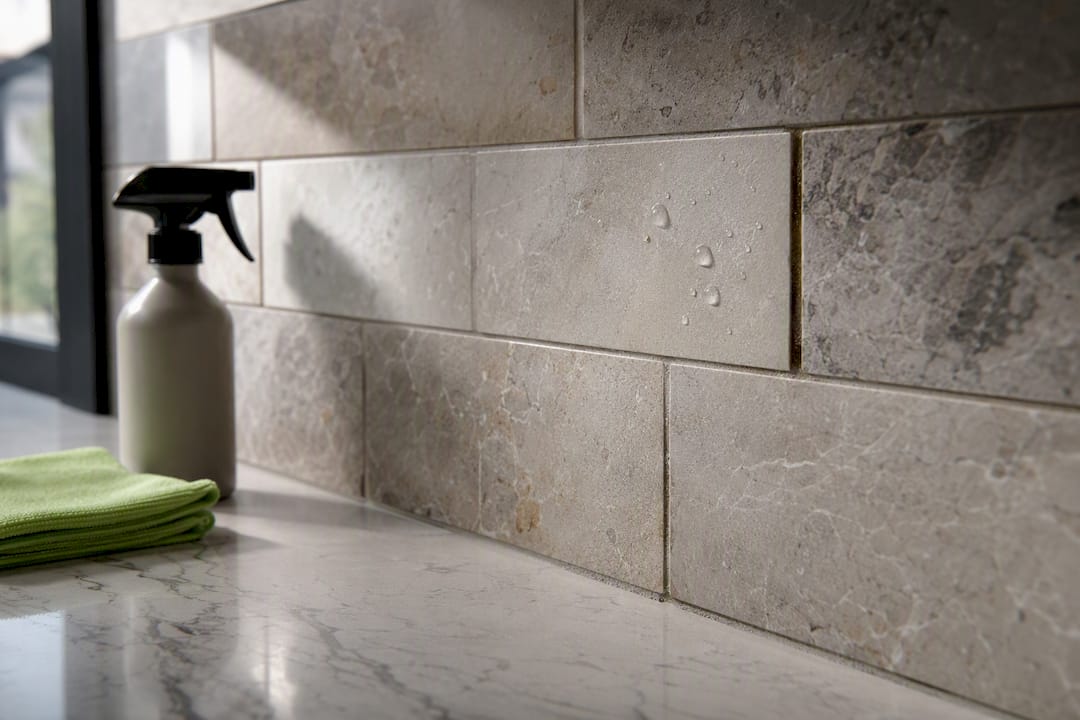
A hollow sound when you tap a tile means poor adhesive coverage underneath. Catch it within the first day, while thinset is still workable, and you can pop the tile, add fresh mortar, and reset it. Wait a week and you’re chiseling it out.
If tiles are consistently falling off the wall within days, or you’re finding this pattern across a large area, stop and call a contractor before retiling the same mistake twice.
Some jobs cross the line from DIY-friendly to professional territory fast. Moving an outlet or switch box, working in a home with confirmed lead paint, installing large-format natural stone slabs, or repairing water-damaged wall structure behind the tile all call for licensed, insured help.
A straightforward 10 to 20 square foot backsplash typically runs one weekend for a DIYer: an afternoon of prep and setting, an overnight cure, then a couple hours grouting and sealing the next day. A professional crew often completes the same job start to finish in a single day, and that speed comes from experience with tricky substrates and code-compliant electrical work you may not have.
Cost swings on a few factors:
If you do bring in a contractor, ask about liability insurance, EPA RRP certification if your home might have lead paint, and references from recent kitchen projects, not just any remodeling job.
Backsplash work looks simple until an outlet needs moving, the substrate is rotted behind an old sink, or a home inspection turns up lead paint mid-project. Expressions Remodeling handles kitchen remodeling across St. Louis and routinely gets called in exactly at that pivot point, when a DIY plan meets a code issue or a material a homeowner didn’t expect. Complex materials like large stone slabs, structural repairs, or any pre-1978 lead concern are where a contractor’s experience earns its cost. A tailored approach beats a generic one because every kitchen’s wall, wiring, and layout quirks are different.
— Kierin
If your kitchen backsplash project has turned up an old outlet that needs moving, a wall that isn’t as flat as it looked, or lead paint you weren’t expecting, that’s the point where a weekend DIY plan starts costing more time than it saves. Expressions Remodeling handles the parts of a kitchen remodel that go beyond tile and grout, including code-compliant electrical work, substrate repair, and full kitchen remodeling starting from $17,999, including labor plus cabinets, countertops, sink, drywall, paint, plumbing and electrical work, and up to 2 light fixtures (appliances such as the refrigerator, gas range, range hood and microwave, and flooring are not included).
Every project comes with insured, managed on-site work and a plan built around your specific kitchen, not a one-size layout. If your backsplash job has grown into something bigger, or you’d rather skip the DIY weekend entirely, request an estimate through the Expressions Remodeling pricing page and get a project timeline built around your actual kitchen.
This guide draws on the EPA’s Lead RRP Program, NIOSH silica safety guidance, Custom Building Products’ SimpleMat and grout technical bulletins, Schluter’s movement-joint profile guidance, and The Home Depot’s installation how-to.
Yes, for most homeowners working with ceramic, porcelain, or glass tile on a prepped wall, it’s a manageable weekend project. It gets significantly harder with natural stone, electrical relocation, or homes built before 1978 where lead testing applies.
A typical 10 to 20 square foot backsplash takes about one weekend: an afternoon for prep and tile setting, an overnight cure, then a few hours for grouting and sealing. SimpleMat adhesive mats can compress that timeline since grouting may be possible in as little as an hour according to Custom Building Products.
Thinset mortar is the safest default for wet areas, stone, and glass tile. Mastic works for dry ceramic backsplashes away from the sink, and SimpleMat suits fast installs on flat, stable substrates within its tile size and thickness limits.
Any home built before 1978 may have lead paint, and disturbing more than 2 square feet of a painted component triggers EPA RRP guidance around testing, containment, and cleanup. A simple lead test kit or a certified renovator can confirm risk before you start demolition.
Consider a professional when the job involves moving electrical outlets, confirmed lead paint, large stone slabs, or wall damage behind the tile. Expressions Remodeling’s kitchen remodeling services start from $17,999 for full projects and include insured, managed installation for exactly these situations.
YOUR NEXT PROJECT
Tell us about your project and get a free, no-pressure estimate.