
Small backsplashes and simple floor sections are within reach for a patient DIYer with the right tools. Full-room floors, showers, large-format tile, or intricate patterns are a different story. The single biggest failure point in any tile installation is poor surface preparation, and it’s the exact spot where a professional earns their fee by catching structural problems before they become cracked tile. Follow the steps below if you’re doing it yourself, or skip to the contractor guidance if your project has any of those red flags.
TL;DR:
- Proper surface preparation is crucial; skipping it is the top cause of cracked tile within a year, especially on floors and large-format tiles.
- The national average cost for tile installation ranges from $10 to $25 per square foot, with larger or more complex projects raising expenses significantly.
- DIYers should stick to small, low-risk projects like backsplashes or light-traffic floors using standard tiles such as ceramic or 12×12 inch porcelain; larger, wet-area, or structural projects require professional help.
- Legendary mistakes include neglecting substrate prep, improper layout starting from walls, and rushing cure times, which often lead to costly callbacks or failures.
- Hiring professionals is advisable for projects involving waterproofing, large tiles over 15 inches, or structural repairs, with detailed scope and at least three quotes being best practice.
Table of Contents
- How Do You Install Tile Step by Step?
- Which Tile and Materials Fit Your Room?
- What Does Tile Installation Cost and How Long Does It Take?
- What Tools Do You Need and What Mistakes Should You Avoid?
- When Should You Hire a Professional Tile Installer?
- Expressions Remodeling: A Direct Option If You’d Rather Hire It Out
- Why the “Just DIY It” Advice Online Oversimplifies Things
- Sources
- FAQ
How Do You Install Tile Step by Step?
Every successful tile installation follows the same order, whether it’s a professional crew or a first-time DIYer running the show. Skip a step or rush one, and it shows up later as a cracked grout line or a tile that rocks underfoot.
- Inspect and prep the substrate. Check for level, soft spots, and moisture. Poor surface prep is the leading cause of tile failure, which is why installers often install cement backerboard or an uncoupling membrane over plywood subfloors to isolate the tile from structural movement. Skipping this step is the number one reason DIY floors crack within a year.
- Measure and dry-lay your tile. Snap chalk lines to find your room’s center, then lay tiles without adhesive to preview the pattern. This step reveals awkward edge cuts before they’re permanent.
- Mix and spread thinset. Match your trowel’s notch size to your tile size (larger tile needs a bigger notch), comb the mortar in one direction, then press tiles in with a slight twist and level them against their neighbors. Use spacers on every joint, not just the visible ones.
- Cut tiles as needed. A snap cutter handles straight cuts on ceramic quickly. A wet saw is worth renting for porcelain, natural stone, or any notch and L-shaped cut around outlets and pipes. Always wear eye protection.
- Grout the joints. Sanded grout suits joints wider than an eighth of an inch; unsanded grout works for tight joints and won’t scratch soft or polished tile. Wipe away haze within 30 minutes, then seal grout lines (and porous natural stone) once fully cured.
- Respect cure times. Give thinset roughly 24 hours before walking on floor tile, longer before grouting. Grout itself typically needs 24 to 72 hours before sealing, and shower waterproofing membranes need their own manufacturer-specified cure window before tile goes over them. Rushing this stage is the second most common cause of callbacks.
Manufacturer and retailer video guides, including Daltile’s wall tile tutorials and Home Depot’s floor tile videos, are worth watching before you start. Seeing the correct trowel angle and float technique in motion beats reading about it every time.
Which Tile and Materials Fit Your Room?
Tile choice should start with performance, not looks. Slip resistance, hardness, and water tolerance matter more for a shower floor than color, and experienced installers pick tile for the application first.
- Ceramic is affordable and easy to cut, best for walls and light-traffic floors.
- Porcelain is denser and more water-resistant, the standard choice for kitchen and bathroom floors.
- Natural stone (marble, travertine, slate) looks distinctive but is porous and needs regular sealing.
- Glass tile works well as a backsplash accent but chips easily underfoot, so it’s rarely used on floors.
Large-format tile (anything over 15 inches per side) demands a nearly perfectly flat substrate, since even a slight dip shows up as a lippage problem at the seams. Grout choice follows the same logic as tile: sanded grout for wider joints and heavy-traffic floors, unsanded for narrow joints, and a penetrating sealer for anything porous. Wet areas, particularly showers, need a proper waterproofing membrane or backer board system behind the tile, not just behind the tub surround.
Pro Tip: If you’re new to tiling, stick with porcelain or ceramic in a straight-set pattern and a standard size like 12 by 12 or 12 by 24 inches. Mosaics and herringbone layouts multiply your cuts and your chances of a visible mistake.
What Does Tile Installation Cost and How Long Does It Take?
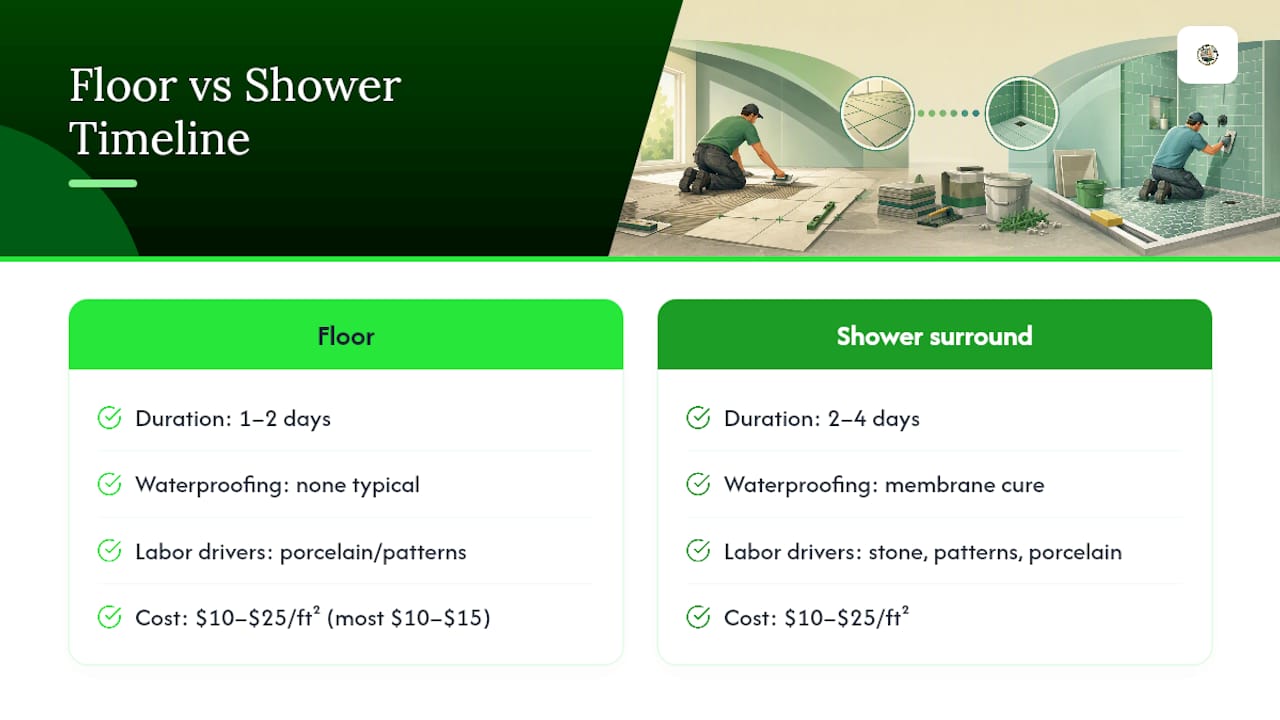
By the numbers: National installed costs for a standard tile job run roughly $10 to $25 per square foot in materials and labor combined, with labor accounting for about 40% of that total. A 100-square-foot bathroom floor lands somewhere between $1,000 and $2,500 installed.
Tile type moves that number significantly. Porcelain and intricate patterns push labor costs up, and natural stone adds sealing time and specialized handling that ceramic never requires. Most homeowners land closer to $10 to $15 per square foot for a straightforward job, and it’s smart to budget an extra 10% in tile to cover cuts and breakage.
Timeline matters as much as price. A floor typically takes one to two days. A shower surround takes two to four days once you account for waterproofing membrane cure time before tile goes up. Scheduling tile work during a contractor’s slower season, and choosing a simple straight-set layout over a diagonal or herringbone pattern, are the two easiest ways to trim labor cost without cutting corners on materials. Material choice alone can swing your total renovation budget more than most homeowners expect.
What Tools Do You Need and What Mistakes Should You Avoid?
A basic tile job needs a notched trowel sized to your tile, a manual snap cutter or a rented wet saw, tile spacers, a four-foot level, a rubber mallet, and a grout float. Wear eye and ear protection when cutting, run a shop vacuum or wet saw with water feed to control dust, and ventilate the room when working with thinset or sealer fumes. If you’re pulling an old toilet or vanity out of the way first, shut off water and power to the area before you start demo.
The mistakes that sink most DIY tile jobs are predictable:
- Skipping substrate prep because the floor “looks flat enough.”
- Starting the layout from a wall instead of the room’s center, which stacks small cuts on one side.
- Overworking thinset until it skins over before tiles go down.
- Using sanded grout on narrow joints or polished stone, which scratches the surface.
- Walking on fresh tile or grouting too early, before the mortar has cured.
When Should You Hire a Professional Tile Installer?
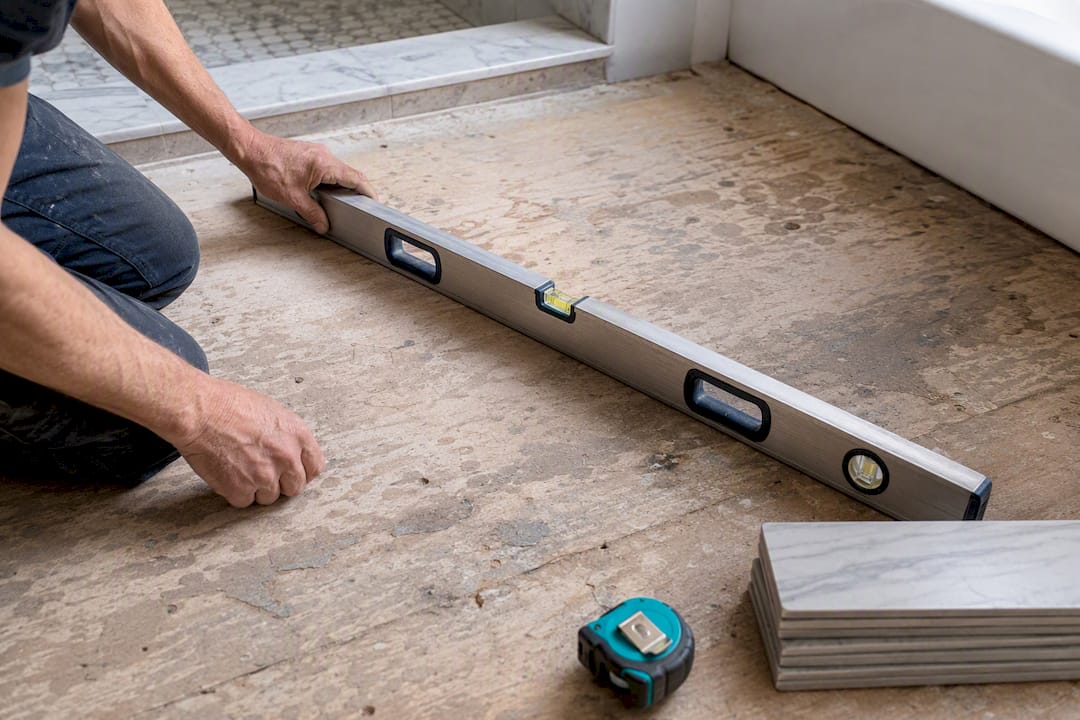
Certain signals point straight to a professional installer instead of a weekend project. Structural repairs (a soft or uneven subfloor), full shower waterproofing, large-format tile over 15 inches, a tight renovation timeline, or a simple desire for a workmanship warranty are all good reasons to bring in a contractor. Complex waterproofing behind a shower wall is one area where a DIY mistake stays hidden until it shows up as a leak months later.
A solid professional quote should spell out the full scope: substrate repair, waterproofing, a materials list with tile and grout specifics, a realistic timeline, cleanup, and what warranty covers the labor. Getting at least three written quotes and comparing exactly what each one includes, not just the bottom-line number, is the best protection against surprise change orders. Some remodeling contractors build their process around transparency for homeowners tackling bathroom and floor projects, pairing clear scope documents with hands-on project coordination from start to finish.
Expressions Remodeling: A Direct Option If You’d Rather Hire It Out
If you’ve read this far and decided the substrate repair, waterproofing, or timeline pressure isn’t worth the DIY risk, Some remodeling contractors handle the entire job instead of requiring homeowners to coordinate a demo crew, a tile setter, and a plumber separately.

The team covers bathroom remodeling, shower remodeling, and floor replacement, including the tile work, waterproofing, and substrate repair that trip up most first-time DIYers. A full bathroom remodel is listed at $16,999 per project, and full basement work runs from $40 per square foot, both detailed on the pricing page. Before your first meeting, jot down your rough room measurements and bring any tile samples or photos you like, so the estimate reflects your actual vision rather than a generic quote. Request a free in-home remodeling estimate and get a scope, timeline, and price in writing before any work starts.
Why the “Just DIY It” Advice Online Oversimplifies Things
Most tile tutorials treat every project as interchangeable, as if grouting a backsplash and waterproofing a curbless shower carry the same risk. They don’t. A backsplash mistake costs you an afternoon and a tile order. A shower waterproofing mistake costs you a subfloor replacement two years later, after mold has already spread behind the wall where you can’t see it.
The honest advice is to separate the decision by consequence, not by difficulty. A small kitchen backsplash is genuinely low stakes. A full bathroom floor over a slab is moderate risk. Any wet-area tile behind a membrane is high consequence if it fails, regardless of how easy the actual tile-setting looks in a video. Homeowners who get burned on DIY tile almost never fail at the tiling itself. They fail at the invisible layer underneath it, the part no video walks you through because it isn’t dramatic enough to film.
That’s the real argument for hiring a pro on anything wet or structural: not that you can’t learn to set tile, but that the failure mode is delayed and expensive enough that the learning curve isn’t worth the gamble.
— Kierin
Sources
Verify your own project numbers with the HomeServiceCost tile calculator by entering your ZIP code for local labor-rate adjustments, plus the cost breakdowns from TileHub and Today’s Homeowner referenced above.
- Laying tile for beginners: practical floor & wall installation (Flooring Clarity)
- How to DIY tile (Popular Mechanics)
- Cost to Install Tile 2026 ($10-$25/sqft) | HomeServiceCost
FAQ
What Is the Average Cost to Have Tile Installed?
Most standard tile installs run $10 to $25 per square foot including materials and labor, with labor making up roughly 40% of that total. Many homeowners land closer to $10 to $15 per square foot for simpler layouts and mid-range tile.
How Do You Install Tile Step by Step?
Start by preparing the substrate with backerboard or a membrane, then dry-lay your tile to plan the pattern before spreading thinset with a notched trowel. Set and level the tile, cut pieces as needed with a snap cutter or wet saw, then grout, clean, and seal once everything has fully cured.
Can a Beginner Install Tile?
Yes, beginners can successfully install tile on small, low-risk projects like backsplashes or a small dry-area floor with the right prep and patience. Larger areas, showers, and other wet zones carry a much higher failure risk without hands-on experience, which is where hiring a professional makes more sense.
What Is a Tile Installer Called?
A tile installer is typically called a tile setter or a tile contractor, and larger remodeling firms often employ them alongside other trades for bathroom and flooring projects. Expressions Remodeling coordinates this work directly for homeowners through its bathroom remodeling and floor replacement services rather than requiring homeowners to hire and schedule a separate specialist.