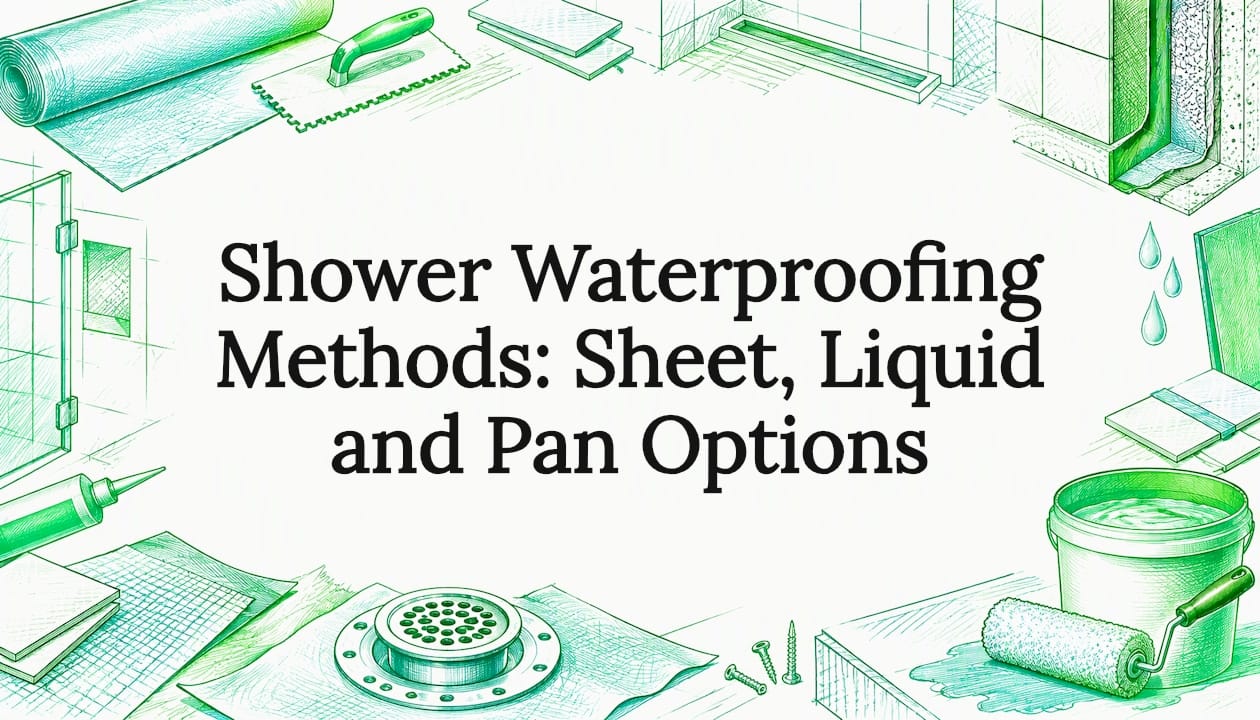
There are two modern ways to waterproof a tiled shower: a sheet membrane glued to the walls and floor, or a liquid membrane rolled or troweled on in coats. Both work when they are installed as a continuous, bonded layer, connected to a drain with a bonding flange and tested before tile covers them. Most shower failures come from the details, not from the product name on the bucket or the roll.
This guide explains how each method works, where leaks start, how to choose, and what to ask a contractor. We are a St. Louis remodeling company, so we also cover the local permit side.
TL;DR
- Tile and grout are not waterproof. The membrane underneath is what keeps water out of your walls and subfloor.
- Sheet membranes can be tiled right away and have uniform thickness. Liquid membranes handle corners, niches and odd shapes well, but need cure time and correct coverage.
- Leaks usually start at corners, the drain connection, the curb, niches and plumbing penetrations. Bonding every one of them is the real work.
- Ask your contractor whether the shower is flood tested before tile and who is responsible if it leaks.
- Ventilation matters as much as the membrane. A fan that vents outdoors keeps humidity and mold down.
Table of Contents
- Why tile and grout alone will not keep a shower dry
- The old way: water in, water out
- The modern standard: a bonded membrane at the surface
- Sheet membranes
- Liquid-applied membranes
- Sheet versus liquid at a glance
- Where showers actually leak
- Can you waterproof a shower that is already tiled?
- Testing before tile
- Ventilation and humidity: the other half of moisture control
- Steam showers and special cases
- Scald protection belongs in the same conversation
- What it costs in St. Louis, and what permits apply
- Our perspective on shower waterproofing
- Planning a shower remodel in St. Louis
- Questions homeowners ask
- Sources
Why tile and grout alone will not keep a shower dry
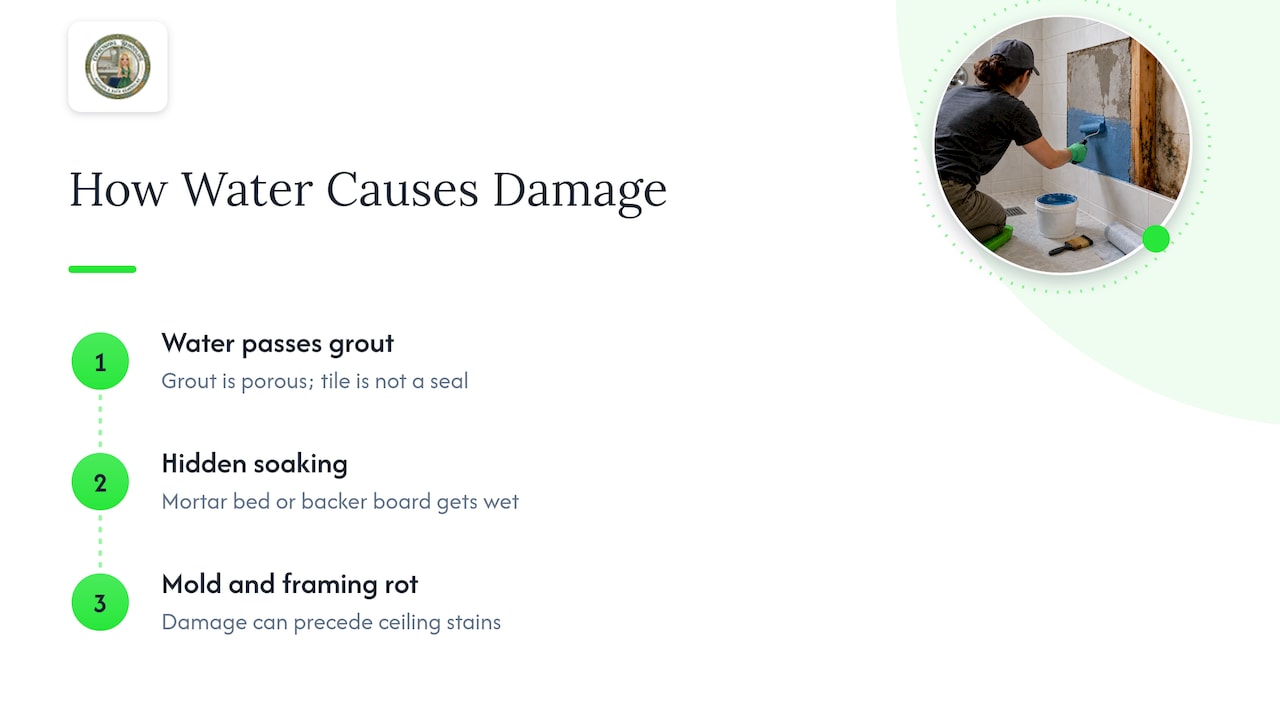
Tile is durable and easy to clean, but the grout lines are porous and the tile itself is not a seal. Schluter’s guidance on tiled showers says tiled showers are durable and hygienic when designed and installed properly, and that poor design and installation can cause leaks and mold growth. Water gets through the grout, so the structure behind it has to be protected.
The damage is slow. A small leak soaks the mortar bed or the backer board, feeds mold, and rots framing before any stain shows on the ceiling below. The EPA notes that mold needs only small amounts of moisture to grow, and a bathroom produces plenty. That is why a proper waterproofing layer is not an upgrade. It is the part of the shower you cannot fix later without tearing out the tile.
The old way: water in, water out
Older showers used a traditional pan liner under a thick mortar bed. Water was expected to pass through the grout and tile and soak the mortar, then drain out through weep holes in the drain. The membrane sat at the bottom, under the saturated bed.
That design has a built-in weakness. The mortar bed stays wet, weep holes clog with debris or mortar, and moisture sits close to the framing. Modern guidance has moved away from it. According to Schluter’s explanation of water management, surface-applied bonded membranes let you set tile directly over the waterproofing, so the mortar bed does not need to handle water. If your home is older and the shower has a mortar pan, this is often what you will find when the tile comes off.
The modern standard: a bonded membrane at the surface
Bonded membranes sit directly beneath the tile, on the walls and floor. Water stops at the tile surface instead of soaking in. Custom Building Products’ technical bulletin on shower assemblies describes the current approach as bonded waterproof membranes meeting ANSI A118.10 criteria, in sheet or liquid form, tied into a drain with a bonding flange.
The drain is the key connection. A bonding-flange drain gives the membrane something to attach to, which makes a watertight joint and removes the need for weep holes. A membrane that ends near the drain without being bonded to it leaves the most likely leak path in the whole shower.
Sheet membranes
Sheet membranes are factory-made fabric or polyethylene layers cut to size and adhered with thin-set. Seams and corners are covered with matching bands, and manufacturers sell preformed corners, curbs, niches and drains designed to work together.
Strengths
- Uniform, factory-controlled thickness, so there is no guessing about coverage.
- No cure time before tiling, which shortens the schedule. Schluter lists this among the reasons to use sheet waterproofing.
- Works as a complete system with matching drains, curbs and niches.
Trade-offs
- More cutting and fitting around odd shapes, benches and plumbing.
- Seams and corners need careful bonding. A missed void under the sheet is a failure point.
- Materials cost more up front than a bucket of liquid.
Liquid-applied membranes
Liquid membranes are rolled, brushed or troweled on, usually in two coats, and cure into a continuous film. Red-colored products make it easy to see thin spots. They bond to cement board and other approved substrates, and tile goes right on top once cured.
Strengths
- Seamless coverage over corners, niches, benches and custom shapes, with no prefab pieces required.
- Lower material cost and easy to apply to walls.
- Good for complicated layouts where cutting sheets would create many seams.
Trade-offs
- Thickness depends on the installer. Coverage rates matter: for example, one manufacturer specifies 1 gallon per 40 square feet to meet standards for shower pan liners. Spreading it thinner defeats the purpose.
- Cure time between coats and before tiling. Humidity and temperature change that time, so follow the product data sheet.
- Reinforcing fabric is typically needed at corners and joints.
Sheet versus liquid at a glance
| Factor | Sheet membrane | Liquid membrane |
|---|---|---|
| Thickness control | Factory uniform | Depends on application |
| Time before tiling | Immediate | After cure |
| Corners, niches, benches | Prefab pieces or careful folding | Seamless detailing |
| Material cost | Typically higher | Typically lower |
| Most common mistake | Voids under the sheet, unbonded seams | Coats too thin, tiling too early |
| Best fit | Standard layouts, tight schedules | Complex shapes, custom niches |
Most contractors choose by the layout, not by loyalty. A simple alcove shower with a standard niche suits either system. A large custom shower with a bench, multiple niches and a linear drain may be easier to detail with liquid on the walls and sheet on the floor, as long as the manufacturer allows the combination.
A common question is whether one brand beats another, for example one liquid product against another. Brand matters less than following the data sheet: coat count, coverage, cure time, and the reinforcing band at joints. Different products can have different requirements, so check the one you are using.
Where showers actually leak
Products rarely fail in the middle of a flat wall. Leaks start at transitions. Experts quoted by the EPA stress that waterproofing extends across the whole wet area, with attention to floor-to-wall joints and plumbing penetrations. These are the spots to check:
- The drain connection. The membrane must bond to the drain flange, not just overlap it.
- Floor-to-wall corners. Movement here cracks unreinforced coatings.
- The curb. It is a three-dimensional shape with many edges. Every face needs coverage, including the top.
- Niches and benches. Slope the shelf surfaces so water runs back into the shower.
- Valve and showerhead penetrations. Seal around each pipe and fixture opening.
- Door and glass anchor points. Screws that pierce the tile need sealant.
- Floor slope. The pan needs consistent pitch toward the drain so water does not pool on the membrane.
If you have a curbless shower, the floor slope and the transition to the bathroom floor become even more important. We covered the trade-offs in our guide to curbless or curbed showers for St. Louis homes.
Can you waterproof a shower that is already tiled?
Sometimes you can slow a problem, but you cannot truly waterproof a tiled shower from the surface. Sealing grout and caulking joints helps with surface water and is worthwhile maintenance. Topical sealers do not replace a membrane behind the tile.
If you see soft spots, staining below the shower, loose tile, or a musty smell, the membrane may have failed. The honest fix is to remove the tile, inspect the substrate, replace damaged materials and rebuild with a bonded membrane. Wet or moldy porous materials may need full replacement. The EPA’s mold cleanup guidance explains that hard surfaces can be scrubbed with detergent and water, while porous materials that become moldy may have to be removed and replaced.
Testing before tile
A waterproofing job is only proven when it holds water. Before tiling, the shower floor can be plugged and filled with water to a set level, marked, and checked after a period, commonly 24 hours. A dropping level means a leak, and it is far cheaper to find now than after tile and grout.
Ask your contractor whether they flood test, and ask for photos of the membrane before tile goes on. Those photos are your record of what is behind the wall. We suggest keeping them with your project paperwork.
Ventilation and humidity: the other half of moisture control
A perfect membrane still leaves a humid room. The EPA’s remodeling guidance says exhaust ventilation should vent moisture outdoors, not into attics or interior spaces, and that fan operation and sealed plumbing penetrations deserve periodic checks. A fan that dumps humid air into the attic creates a new moisture problem above the bathroom.
If your fan is noisy, weak or ducted poorly, upgrade it during the remodel while the ceiling is open. For background on how ventilation upgrades reduce moisture, this 2026 home ventilation guide is a useful read. Run the fan during the shower and for a while after.
Steam showers and special cases
Steam is harder on a membrane than a regular shower. The Tile Council of North America classifies steam rooms and showers by exposure category, and the ceiling, sloped for drainage, needs the same waterproofing as the walls. If you are considering steam, bring it up at the start, because the assembly changes.
Scald protection belongs in the same conversation
While the walls are open, the valve is easy to replace. Shower valves have a temperature limit stop that must be set correctly. ASSE guidance on compensating valves calls this a safety requirement that installers sometimes overlook, and notes that if hot water is not available at installation, the installer must return to set it. Households with children or older adults should confirm it is done. A licensed plumber can check it. If you are planning accessibility changes, see our piece on how bathroom safety renovation works.
What it costs in St. Louis, and what permits apply
Waterproofing is a small share of a shower budget, but it is the share you least want to cut. Shower replacements are a common project: the MrRemodel 2025 partial bathroom study lists waterproofing installation among the items that drive costs when projects involve structural and plumbing changes.
Our published price for a full bathroom remodel is $16,999 per project, as listed on our pricing page. Shower-only projects are scoped to the job, and we do not publish a shower price. For a wider look at local numbers, read our St. Louis bathroom remodel cost breakdown.
Permits depend on scope and location. The City of St. Louis requires building permits for structural changes and major alterations, and plumbing work has its own fee schedule. Suburbs and unincorporated St. Louis County have their own offices and rules, so confirm with the jurisdiction where your home sits. A contractor should tell you who pulls the permit.
Our perspective on shower waterproofing
We see the same pattern in older St. Louis houses: the tile looks fine, and the problem is hidden. Because a shower remodel is mostly invisible work, we think the homeowner should be shown that work.
Our approach is built around a few habits:
- Pick the method for the shower, not for the sales pitch. Layout, bench, niches and schedule decide sheet, liquid or a combination.
- Treat the drain, corners, curb and penetrations as the main event. They are where leaks start.
- Document the membrane before it is covered. Photos and a pre-tile water test give you proof.
- Fix moisture sources, not just surfaces. Ventilation and wall construction are part of the plan.
- Explain the choices in plain words. You should know what is behind your tile and why.
A beautiful shower should still be dry behind the walls in ten years. That is what we build toward.
— Kierin
Planning a shower remodel in St. Louis
If you are replacing a failing shower or converting a tub, we handle the demolition, waterproofing, tile and finish work as one project. Start with our shower remodeling service, or see how a full bathroom remodel fits your budget on the pricing page. Our design consulting includes 3D visualization, so you see the layout before work starts.
Questions homeowners ask
Is a liquid membrane better than a sheet membrane?
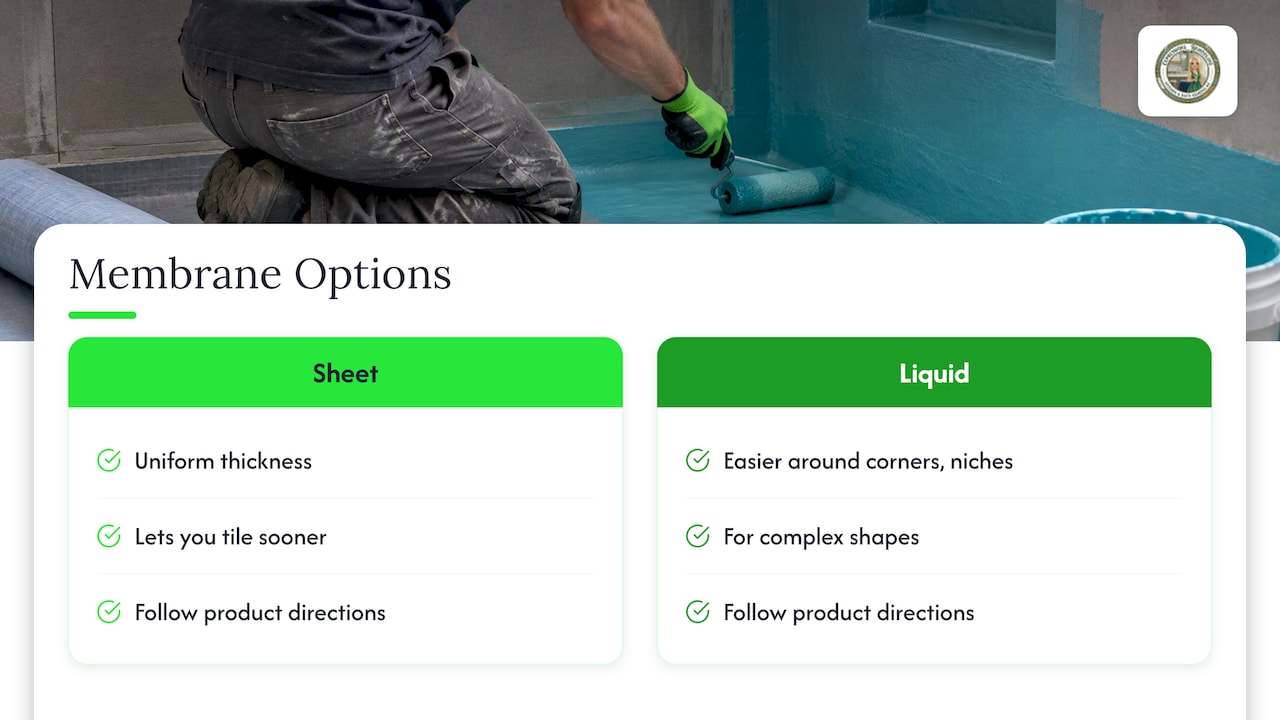
Neither is better in every case. Sheet gives uniform thickness and lets you tile sooner, while liquid is easier around corners, niches and complex shapes. Results depend on installation quality and following the manufacturer’s directions for the specific product.
Can I tile directly over a liquid membrane?
Yes, bonded liquid membranes are designed to be tiled over once cured, using the thin-set the manufacturer approves. Cure time varies with humidity and temperature, so check the product data sheet. Tiling early is a common cause of failure.
What are the most common waterproofing mistakes?
Applying coats too thin, skipping reinforcement at corners and seams, leaving the drain unbonded, and not sealing penetrations. Skipping a flood test is another. Most of these are detail errors, not product defects.
How do I know if my shower’s waterproofing has failed?
Watch for soft or loose tile, stains on the ceiling or walls below, a persistent musty smell, or grout that stays damp. If you see these, ask a licensed remodeler or plumber to inspect before more damage develops. Repairs may involve removing tile to check the substrate.
Sources
- Essential Water Management in Tiled Showers, Schluter
- Assemblies in Showers, Custom Building Products
- Three reasons to use sheet waterproofing membranes, Schluter
- Mold Course Chapter 1, US EPA
- Mold Cleanup in Your Home, US EPA
- Remodeling Your Home and Indoor Air Quality, US EPA
- Steam Rooms and Steam Showers, Custom Building Products
- Compensating Valves, ASSE
- 2025 U.S. Bathroom Partial Remodeling Cost Variation Study, MrRemodel
- Residential Construction Permit, City of St. Louis
- Plumbing Permit Fees, City of St. Louis