
Stop liquid water at the source before you buy a dehumidifier or hang drywall. Fix grading, gutters, and drainage first, because that’s the primary defense against basement moisture. Dry any wet materials within 24 to 48 hours to head off mold growth, and pick up a digital hygrometer now so you actually know whether your basement needs dehumidification or just better drainage.
TL;DR:
- Proper drainage fixes like gutter extensions and grading adjustments are crucial first steps, often resolving most moisture issues without permits.
- Indoor solutions such as sealing cracks and ensuring sump pump functionality are necessary but only effective when combined with exterior water diversion.
- Moisture-resistant materials and a monitored dry period are essential before finishing a basement to prevent mold growth and material damage.
- Cost-effective exterior repairs usually outperform interior systems alone, especially when addressing high water tables or hydrostatic pressure.
- Professional inspection and a root-cause diagnosis are recommended for persistent problems, as DIY fixes may only provide temporary relief.
Table of Contents
- How Do You Diagnose the Source of Basement Moisture?
- What Weekend Fixes Actually Reduce Basement Dampness?
- Fixing Yard and Roof Drainage: The Highest-Impact Repair
- Interior Drains and Sump Pumps: What They Can and Can’t Fix
- How Big a Dehumidifier Does a Basement Need?
- Choosing Materials That Survive a Damp Basement
- When Should You Call a Professional?
- Why Fix the Water Before You Finish the Room
- Ready to Finish Your Basement the Right Way?
- Sources
How Do You Diagnose the Source of Basement Moisture?
Start by looking, not guessing. Efflorescence (that chalky white residue on concrete) means water moved through the wall and left mineral deposits behind. Streaking below a window well points to surface runoff. A damp patch that shows up only under one sink usually means a plumbing leak, not foundation seepage.
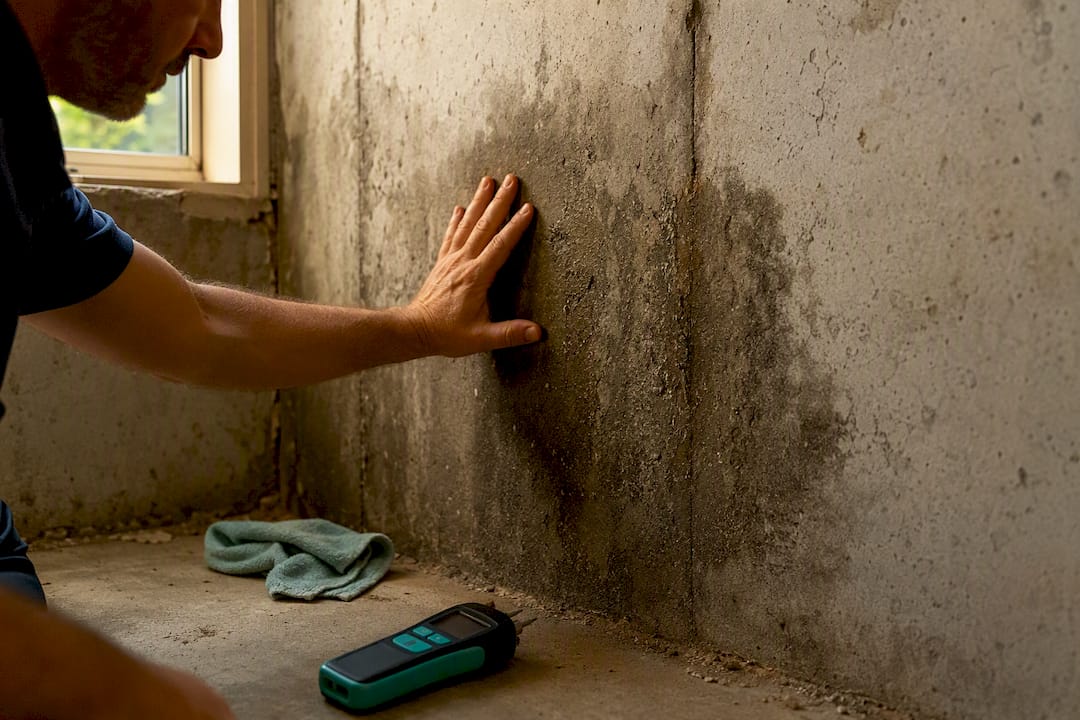
Separate plumbing problems from foundation problems before you spend a dime on waterproofing. Shut off fixtures one at a time and watch whether the wet spot stops growing. If it does, you’ve found a leak, not a foundation issue. Persistent dampness along the perimeter, especially after rain, almost always traces back to grading or gutters.
Once you’ve narrowed the source, measure it. A basic digital hygrometer, run for 7 to 14 days, gives you real data instead of a hunch. Human skin is a poor judge of humidity. Track relative humidity and temperature daily and aim for 30 to 50% RH, lower in winter when cold surfaces make condensation worse.
Diagnostic checklist for the first weekend:
- Check for efflorescence, staining, or peeling paint on foundation walls
- Isolate plumbing fixtures to rule out leaks before blaming the foundation
- Log RH and temperature twice daily for at least a week
- Inspect floor drains and sump pits for standing water or dry P-traps
- Note any wet materials immediately. The EPA’s 24 to 48 hour window for drying matters more than almost anything else on this list
What Weekend Fixes Actually Reduce Basement Dampness?
Before you call anyone, there’s a short list of fixes that solve a surprising share of basement moisture problems, and none of them require a permit.
- Clean out gutters and add downspout extensions that carry water 6 to 10 feet from the foundation.
- Regrade any low spots near the house so the ground slopes at least 1 inch per foot for the first 6 to 10 feet out.
- Pour water into dry floor drains and P-traps. A dry trap can let sewer gas and soil moisture into your basement, and refilling it takes thirty seconds.
- Wrap cold water pipes to stop condensation from dripping onto floors and joists.
- Confirm your dryer vent and bathroom fans exhaust outside, never into the basement or attic.
- Seal small foundation cracks and utility penetrations as a stopgap while you plan bigger repairs.
Pro Tip: A portable dehumidifier can buy you time while you sort out drainage, but treat it as symptom control, not a cure. If the unit is running constantly and the tank never seems to empty fast enough, something upstream is still adding water.
Fixing Yard and Roof Drainage: The Highest-Impact Repair
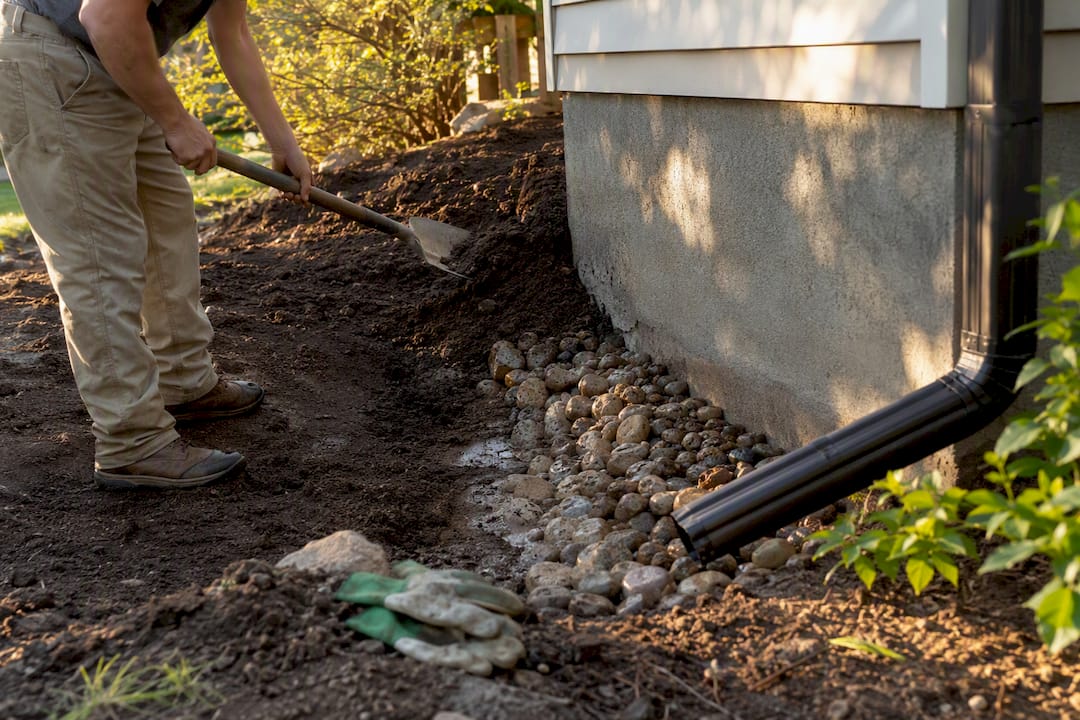
Most chronic basement dampness traces back to water that never should have reached the foundation in the first place. Building scientists frame this as water control versus waterproofing: diverting water away from the house is the primary strategy, and waterproofing exists to manage whatever water you couldn’t divert. Get the order backwards and you’ll spend money treating a symptom while the cause keeps working against you.
Walk the perimeter after a hard rain if you can. Watch where water pools, where downspouts dump, and whether the soil slopes toward or away from the foundation. A few things to check:
- Gutter capacity during heavy rain. Undersized gutters overflow right at the foundation line.
- Downspout routing. Extensions or buried drain lines should discharge well away from the house.
- Surface drainage in persistently soggy areas. A dry well or French drain can intercept water before it reaches the wall.
- Sump discharge lines. They need to exit far from the foundation and be protected against freezing in cold climates.
Exterior excavation and membrane waterproofing make sense when grading and gutter fixes don’t stop the water, or when you’re dealing with a high water table or hydrostatic pressure. That’s a bigger job than most homeowners tackle themselves, and it’s usually where a contractor conversation starts.
Interior Drains and Sump Pumps: What They Can and Can’t Fix
Interior systems manage water that has already reached the foundation. They don’t stop it from arriving, which is why they work best paired with the exterior fixes above, not instead of them.
A perimeter drain (sometimes installed under the slab edge) collects water and channels it to a sump pit, where a pump ejects it outside. That only works if the pump works. Test yours annually with a bucket test: pour water into the pit until the float triggers, and confirm the pump kicks on and clears it.
- Add a battery backup so the pump still runs during a power outage, which is often exactly when you need it most.
- Seal the sump pit cover. Standing water evaporates continuously into your basement air if the pit sits open, and sealing it can measurably lower baseline humidity.
- Check discharge routing outside at least once a season to confirm it hasn’t been redirected back toward the foundation by settling soil.
- Inspect the check valve for backflow, especially if you hear water sloshing back into the pit after the pump shuts off.
Pro Tip: If you can hear your sump pump running every few minutes even during dry weather, that’s not normal. It usually means groundwater is intruding constantly, which is worth a professional look before you finish anything nearby.
How Big a Dehumidifier Does a Basement Need?
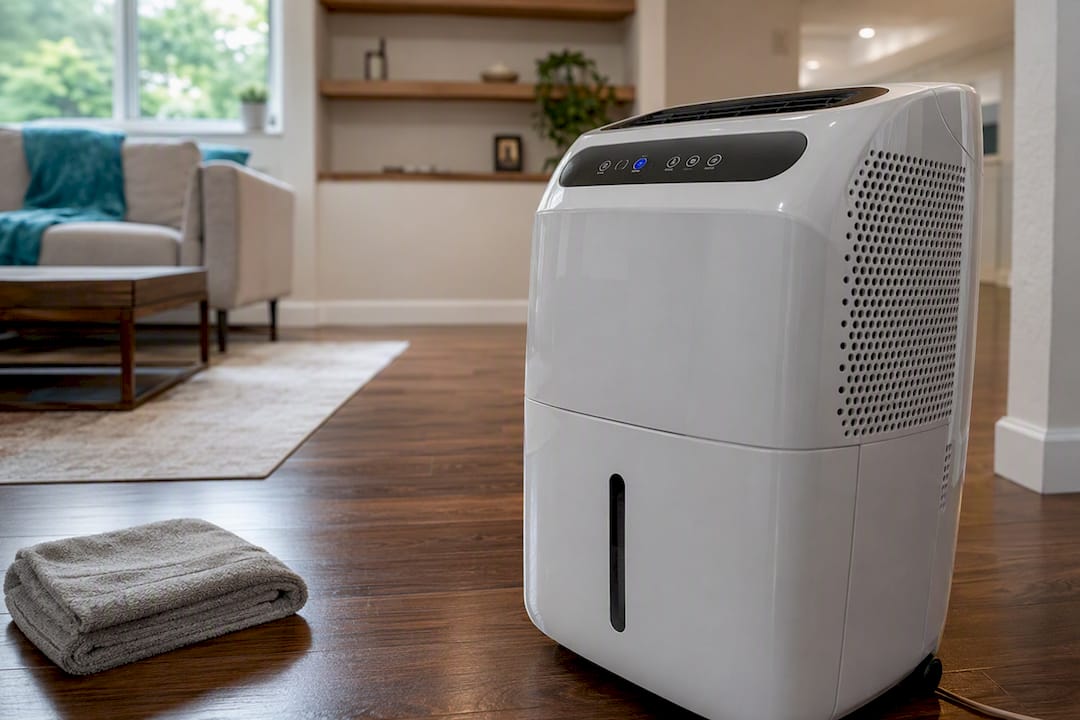
Once liquid water is under control, dehumidification handles the humidity that’s left. Most residential basements do well with a unit rated for 50 to 70 pints per day; larger or open-plan basements sometimes need a whole-house dehumidifier tied into ductwork instead of one portable unit.
Ventilation only helps when outside air is actually drier than your basement air, which is common in spring and fall but works against you during a humid summer. Opening windows in July can make things worse, not better.
- Look for a continuous drain hookup so you’re not emptying a bucket daily.
- Clean or replace filters on schedule to keep airflow efficient.
- If humidity stays high no matter how long the unit runs, stop assuming it’s an equipment problem. That pattern usually means an active leak the dehumidifier is masking, not solving.
Choosing Materials That Survive a Damp Basement
Don’t finish a basement until you’ve confirmed the moisture problem is actually solved, not just quieter for a few weeks. Professionals often recommend a monitored dry period, watching hygrometer readings through at least one full season change, before framing or drywall goes in. Finishing too early traps residual moisture behind new walls, and mold takes hold somewhere you can’t see it.
- Use cement board or moisture-resistant panels instead of paper-faced gypsum near foundation walls and floors.
- Choose closed-cell foam insulation, which resists moisture better than fiberglass batts in below-grade spaces.
- Pick engineered flooring rated for basement use rather than solid hardwood, which swells and cups with humidity swings.
- Insulate continuously at rim joists and other cold spots. Localized thermal bridges cause condensation even when your average humidity reading looks fine.
- Build in access panels near plumbing runs and sump equipment so future problems don’t mean tearing out finished walls.
When Should You Call a Professional?
Some situations move past DIY territory fast. Standing water after a fix, new structural cracking, recurring wetness in the same spot, or any mold that’s had more than 48 hours to grow all warrant a professional visit rather than another round of caulk and hope.
Cost varies with scope. National averages for basement waterproofing run roughly $1,903 to $6,556, with smaller spot repairs below that range and full exterior excavation projects running well above it depending on soil conditions and drainage complexity.
A solid inspection should give you three things:
- A root-cause diagnosis, not just a list of symptoms
- A prioritized repair plan ordered by impact and cost
- A moisture-smart finishing plan, ideally with 3D design visualization so you can see the finished space before construction starts
Why Fix the Water Before You Finish the Room
Homeowners tend to want the fun part first, the flooring and the built-in bar, before the boring part, the grading and the sump test. That order backfires. Skipping straight to finishing hides problems instead of solving them, and you end up paying twice: once for the finish, once to tear it out.
Following the repair order, water control, then humidity control, then finishing, gets you healthier indoor air, materials that actually last, and lower costs over the life of the house. If you want help mapping that sequence for your own basement, an inspection paired with 3D design planning is the fastest way to see where you stand.
— Kierin
Ready to Finish Your Basement the Right Way?
A dry basement is worth more than a finished one. Expressions Remodeling starts every basement project in St. Louis with a root-cause assessment, not a materials pitch, so you’re not paying to finish over a problem that’s still active underneath.

Before your consult, gather a few things: photos of any staining or cracks, your hygrometer readings if you’ve been logging them, and a rough timeline of when the dampness shows up (after rain, in summer, year round). That history helps pinpoint the source faster and keeps the visit focused. From there, Expressions Remodeling builds a moisture-smart finishing plan with complimentary 3D design visualization, so you see the finished room before a single stud goes up. If your basement is ready for that step, request a consultation and get a plan built around what your basement actually needs, not a generic package.
Sources
- A brief guide to mold, moisture, and your home — EPA
- Moisture in basements: causes and solutions — University of Minnesota Extension
- How much does it cost to waterproof a basement? — Thumbtack
Recommended
- Basement Finishing Best Practices: Your 2026 Guide
- Avoid Basement Renovation Mistakes in St. Louis Homes
- Finish Your St. Louis Basement the Right Way: Dry, Healthy and Code-Compliant, with Complimentary 3D Design
- Build a Better Basement for St. Louis Living: Smart Remodeling Strategies for Comfort, Durability, and Style