
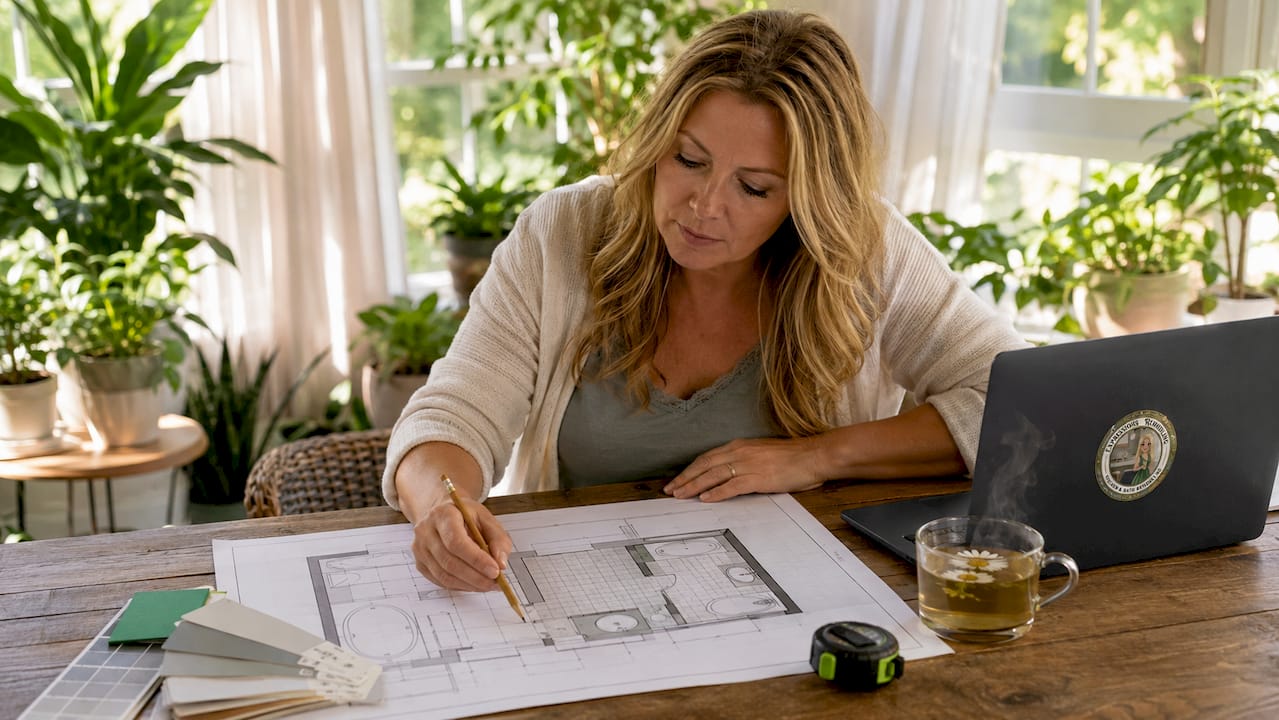
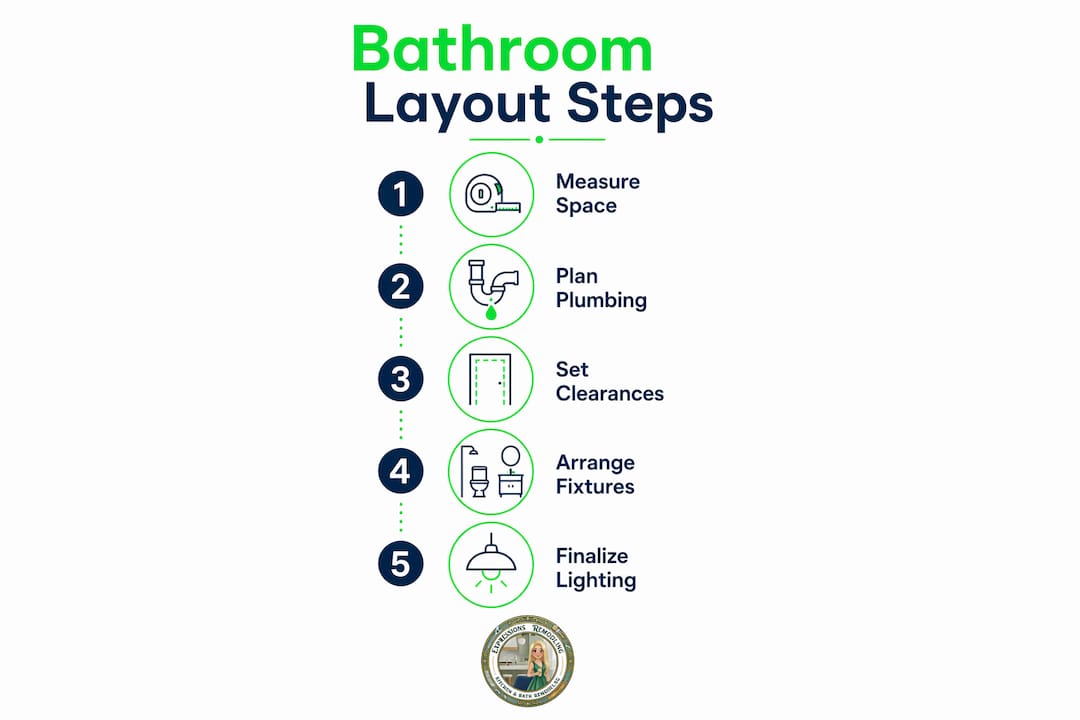
A bathroom layout redesign is defined as the deliberate repositioning of fixtures, plumbing, and spatial zones to improve function, comfort, and code compliance. Most homeowners focus on tile colors and vanity styles first. That order is backwards. Layout determines whether your bathroom actually works. This guide covers the clearance standards, plumbing logic, fixture placement strategies, and lighting principles you need to plan a redesign that holds up long after the grout dries. Expressions Remodeling applies these exact principles on every St. Louis project they complete.
What are the essential clearance and spacing rules for a bathroom redesign?
Clearance rules are the non-negotiable foundation of any bathroom space planning project. Get them wrong and no amount of beautiful tile will fix the result.
The most critical measurement is toilet side clearance. Minimum 15 inches must exist from the toilet centerline to any adjacent wall or fixture. That number comes from 2026 design standards and is not a suggestion. Violating it makes the toilet uncomfortable to use and can fail a building inspection.
Front clearance matters just as much. A minimum of 21 inches of open floor space must sit in front of sinks, toilets, and showers. Designers prefer 24–30 inches wherever the floor plan allows. That extra space is the difference between a bathroom that feels tight and one that feels functional.
Two additional measurements complete the compliance picture. Ceiling height must reach at least 80 inches, and the standard toilet rough-in sits 12 inches from the finished wall. Your door opening should be at least 30 inches wide to meet accessibility and comfort standards.
| Fixture | Side clearance | Front clearance |
|---|---|---|
| Toilet | 15 in. from centerline | 21 in. minimum, 24–30 in. preferred |
| Sink/vanity | 15 in. from centerline | 21 in. minimum |
| Shower/tub | 15 in. from edge | 21 in. minimum |
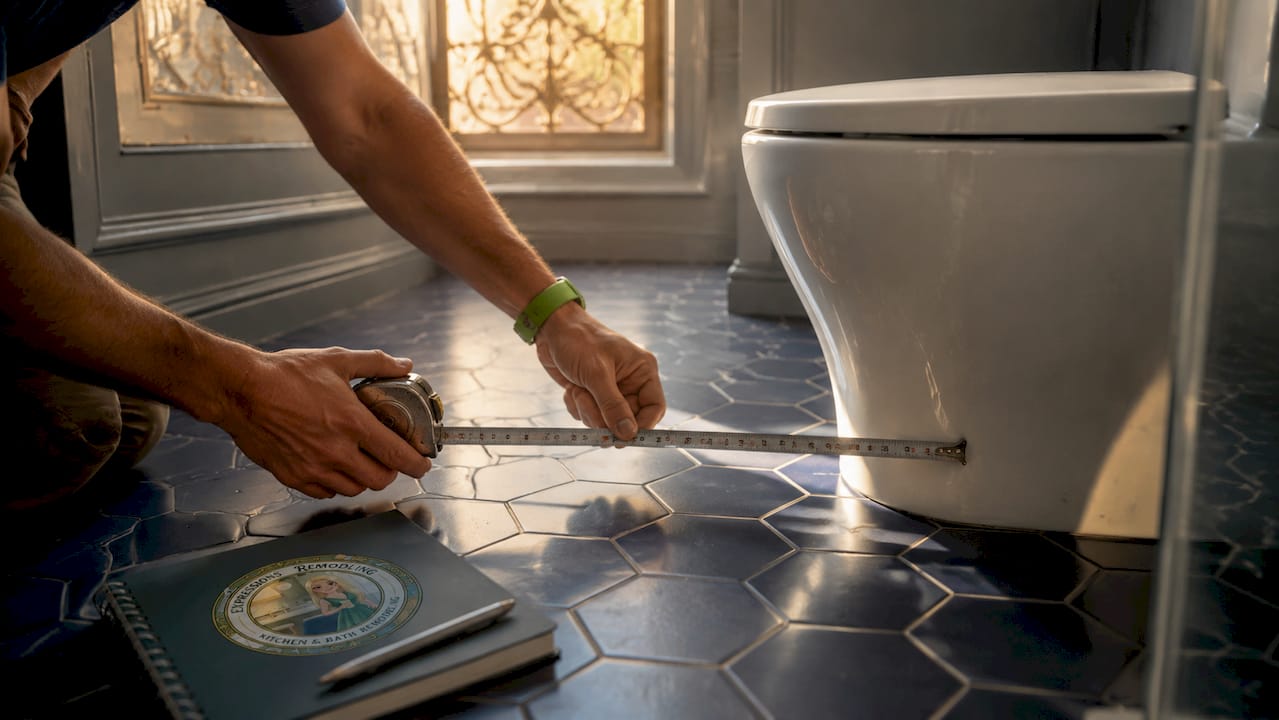
Pro Tip: Measure from finished wall surfaces, not studs. Drywall and tile can add 1–2 inches per side, which shrinks your clearances more than most homeowners expect.
How should homeowners plan their bathroom layout around existing plumbing?
Plumbing location is the single biggest cost driver in any bathroom redesign. Moving a drain or supply line requires opening walls, floors, or both. That work adds labor, materials, and time to every other trade involved.
The most cost-effective approach keeps fixtures along a single wet wall. Consolidating plumbing on one wall reduces pipe runs and avoids expensive relocations. A toilet, sink, and shower that all share one plumbing wall can cost significantly less to rough in than a layout that scatters fixtures across the room.
A full bathroom redesign rarely touches just one system. Layout changes typically require simultaneous plumbing, framing, electrical, and finish work. That complexity demands a coordinated plan before any demolition begins. Treating it as a simple fixture swap is how budgets collapse.
Here is a practical sequence for planning around your existing plumbing:
- Locate your current rough-in points. Mark where the toilet drain, sink drain, and supply lines exit the wall or floor before you draw a single layout option.
- Identify your wet wall. The wall with the most existing pipe runs is your anchor. Design around it first.
- Measure finished dimensions. Account for tile and drywall thickness when calculating how much space each fixture actually has.
- Evaluate relocation costs early. Ask a licensed plumber for a rough estimate before committing to a layout that moves the toilet more than a few inches.
- Confirm rough-in compatibility. Your new toilet must match the existing rough-in distance, or you will need a floor modification.
Pro Tip: A bathroom remodel checklist that maps rough-in locations before design begins saves far more money than any fixture discount you might find later.
What are practical fixture placement and traffic flow strategies?
Layout efficiency is more important than finishes in any bathroom, and a well-optimized layout can make a small bathroom feel twice as large as a poorly arranged one. That is not a styling claim. It is a spatial reality.
The first rule of traffic flow is keeping the toilet out of the direct sightline from the door. Interior designers recommend placing the vanity perpendicular to the entrance so the sink greets you first, not the toilet. This single placement decision changes how the entire room feels.
Door swing clearance is one of the most overlooked steps in layout planning. A door that swings into the toilet or blocks the vanity drawer creates daily frustration. Confirm the full arc of your door swing on paper before finalizing any fixture position.
Additional placement principles that consistently improve bathroom function:
- Separate wet and dry zones. Keep the shower and tub area away from the vanity and storage to reduce moisture damage and clutter.
- Maximize open floor space. Wall-mounted vanities and floating shelves free up floor area, which makes the room feel larger and easier to clean.
- Position storage near points of use. Towel bars belong near the shower. Medicine cabinets belong at the vanity. Storage placed for convenience reduces daily movement inside a tight space.
- Allow walking paths of at least 36 inches between facing fixtures where the floor plan permits. That width lets two people use the room without colliding.
- Plan lighting placement as part of the layout. Electrical rough-in for sconces and exhaust fans must be decided before walls close, not after tile goes up.
How can small bathrooms be redesigned to feel spacious and functional?
Small bathroom layout ideas succeed or fail based on one principle: clearance rules apply at every size. Skipping the 15-inch toilet side clearance because the room is tight does not make the room work. It makes it fail in a smaller space.
Three layout configurations work best in compact bathrooms. A single-wall layout lines all fixtures along one wall, keeping the opposite side open. A galley layout places fixtures on two parallel walls with a clear path down the center. A corner layout tucks the shower into a corner and positions the toilet and vanity along adjacent walls, which frees the center of the room entirely.
Large-format tiles with consistent grout color reduce the number of visual lines on the floor and walls. Fewer lines mean the eye reads the space as larger. A 12×24-inch tile in a small bathroom creates a noticeably more open feel than a 4×4-inch mosaic.
Practical space-saving choices that work in tight bathrooms:
- Corner sinks free up wall space along the main traffic path.
- Pocket doors or barn-style sliding doors eliminate the floor area lost to a swinging door arc.
- Recessed medicine cabinets provide storage depth without projecting into the room.
- Niches in shower walls replace bulky shelving units with built-in storage that takes zero floor space.
- Pedestal sinks open up visual floor space, though they sacrifice under-sink storage.
Pro Tip: Prioritize layout over aesthetics in small rooms. A beautiful vanity in the wrong position will always feel wrong. A plain vanity in the right position will always feel right.
What lighting and finishing details complement an effective layout redesign?
Lighting is a functional system, not a decorative afterthought. The most common mistake in bathroom lighting is a single overhead can light centered on the ceiling. That placement casts shadows directly onto the face at the vanity, which makes grooming difficult and the room feel dim.
Wall sconces placed at 60–66 inches on either side of the mirror provide even, shadow-free task lighting. That height puts the light source at face level, which is exactly where you need it. Pair sconces with a dimmer switch and you cover both task and ambient needs from one fixture type.
Finishing choices should follow the layout, not lead it. Selecting a large freestanding tub before confirming clearances is how homeowners end up with a beautiful fixture that blocks the door. Lock in your spatial plan first, then choose finishes that fit within it.
Finishing details that add function and character without creating spatial conflicts:
- Ceiling wallpaper or a painted accent ceiling adds visual interest without consuming any floor or wall space.
- Warm-toned bulbs (2700K–3000K) create a flattering, relaxed atmosphere compared to cool white office-style lighting.
- Vintage or statement light fixtures above the vanity serve as focal points that draw the eye upward, making the ceiling feel higher.
- Heated floors add comfort without changing the layout at all, since the system installs beneath the tile.
Pro Tip: Combining decorative and functional lighting in the same fixture, such as a lighted mirror with built-in sconces, reduces the number of electrical rough-in points you need and keeps the wall cleaner.
Key takeaways
A successful bathroom redesign starts with clearance standards and plumbing logic, not fixture selection or finish choices.
| Point | Details |
|---|---|
| Clearance rules come first | Maintain 15 in. side clearance and 21–30 in. front clearance before placing any fixture. |
| Plumbing location drives cost | Keeping fixtures on one wet wall reduces pipe runs and controls remodeling expenses. |
| Traffic flow shapes comfort | Position the vanity perpendicular to the door and confirm door swing before finalizing the layout. |
| Small bathrooms need layout priority | Choose the right configuration (single-wall, galley, or corner) before selecting finishes or fixtures. |
| Lighting requires rough-in planning | Place sconces at 60–66 in. on either side of the mirror and plan electrical before walls close. |
What I’ve learned from watching homeowners plan bathroom redesigns
The most consistent mistake I see is fixture shopping before layout is confirmed. A homeowner falls in love with a 36-inch double vanity, buys it, and then discovers the door swing eats 18 inches of the space they needed. The vanity goes back. The schedule slips. The budget takes a hit.
The second mistake is treating the toilet rough-in as flexible. Moving a toilet drain even 6 inches in the wrong direction can mean cutting through a floor joist or rerouting a vent stack. That work costs far more than the savings from a different layout.
What actually works is mapping the room on paper first. Draw the walls at scale. Mark the rough-in points. Sketch the door arc. Then place fixtures inside those constraints. When you test the layout against your daily routine, problems appear on paper instead of during demolition.
The homeowners who get the best results treat layout as a puzzle with fixed rules, not a blank canvas. They confirm clearances, check plumbing positions, and finalize traffic flow before they look at a single tile sample. Aesthetics are the reward for getting the structure right. The simple upgrades that make a real difference always come after the spatial decisions are locked in.
— Kierin
Expressions Remodeling can help you plan the right layout
Bathroom layout planning involves more moving parts than most homeowners expect. Clearances, plumbing positions, door swings, and electrical rough-ins all have to align before a single fixture goes in.
Expressions Remodeling works with St. Louis homeowners to get those decisions right from the start. Their team offers complimentary 3D design services so you can see your layout before any walls open. Every project includes a detailed planning phase that covers spacing standards, plumbing coordination, and finish selection in the right order. If you are ready to move from ideas to a real plan, explore their bathroom remodeling upgrades or schedule a consultation to talk through your space directly with their design team.
FAQ
What is the minimum clearance in front of a toilet?
The minimum front clearance in front of a toilet is 21 inches, with 24–30 inches preferred for comfort and code compliance in most jurisdictions.
How do I redesign a bathroom without moving plumbing?
Keep all fixtures along the existing wet wall and work within the current rough-in locations. This approach avoids the cost of opening floors and walls to reroute drain or supply lines.
What layout works best for a small bathroom?
Single-wall, galley, and corner layouts all work well in compact spaces. The right choice depends on your room’s dimensions and where the existing plumbing rough-ins are located.
How does tile size affect how a small bathroom feels?
Large-format tiles with consistent grout color reduce the number of visual lines on the floor and walls, which makes the room read as larger and more open than smaller mosaic tiles would.
When should lighting be planned in a bathroom redesign?
Lighting placement must be decided before walls close, since sconce and exhaust fan locations require electrical rough-in during the framing stage. Waiting until after tile is up forces costly rework.
Recommended
- Simple Bathroom Remodeling Upgrades That Make a Big Difference – Expressions Remodeling
- Transform Your Bathroom into a Spa-Like Sanctuary: A Guide to Serenity and Style – Expressions Remodeling
- Bathroom Remodel Checklist: Your Step-by-Step Guide
- Transform Your Home: Boosting Value with Bathroom Upgrades – Expressions Remodeling